Custom Backstage Scaffolder Templates
OpenChoreo's Backstage integration registers a set of scaffolder actions — small, composable building blocks (create a Project, create a Component, create a Resource, etc.) that templates can chain together. The portal also ships default templates that consume those actions and cover the core OpenChoreo resources out of the box.
Enterprises may need to wrap the OpenChoreo actions in their own opinionated templates for use cases the defaults don't cover — for example, chaining multiple OpenChoreo actions into a single user-facing flow (onboarding a new team, provisioning a managed resource together with its consumer, etc.), or composing OpenChoreo actions with Backstage's built-in actions for Git providers and CI.
This guide shows how to author a custom template, what OpenChoreo actions are available, and how to deploy the template in either of the two supported portal setups.
Audience
Two ways of running Backstage with OpenChoreo are covered here. The Actions, Example Template, and User-Token Form Decorator sections are common to both. Only the deployment steps (registering the decorator, making the template discoverable) differ.
| Setup | Description | Where divergent steps apply |
|---|---|---|
| OpenChoreo shell app (default) | The Backstage portal that ships with OpenChoreo and is installed by the openchoreo-control-plane Helm chart. You do not edit Backstage source — you customize via Helm values. | Pick the "Shell app" tab in the deployment sections below. |
| Your own Backstage app | A Backstage workspace you own, with the @openchoreo/* plugins installed per Installing into an existing Backstage app. | Pick the "Own Backstage app" tab in the deployment sections below. |
This page does not re-document Backstage's scaffolder template format. For the general concept of a Template resource, parameters, JSON-schema form fields, step expressions, and registering templates with the catalog, see the upstream Backstage docs:
What follows is only the OpenChoreo-specific piece: the actions, how to authenticate them, and how to deploy the template.
Available OpenChoreo Actions
Resource-Creation Actions (Structured Input)
Use these when you want your template's form fields to drive a specific resource. Inputs map directly to fields on the OpenChoreo CRD.
| Action ID | Creates | Audience | Required input |
|---|---|---|---|
openchoreo:namespace:create | Namespace (Backstage Domain) | Platform engineer | namespaceName |
openchoreo:project:create | Project (Backstage System) | Developer | namespaceName, projectName, deploymentPipeline |
openchoreo:component:create | Component + optional Workload | Developer | namespaceName, projectName, componentName, componentType |
openchoreo:resource:create | Resource (managed resource from a ResourceType) | Developer | namespaceName, projectName, resourceName, typeKind, typeName |
openchoreo:environment:create | Environment | Platform engineer | namespaceName, environmentName, isProduction |
openchoreo:deployment-pipeline:create | DeploymentPipeline | Platform engineer | namespaceName, pipelineName |
openchoreo:component:create and openchoreo:resource:create reference an OpenChoreo ComponentType / ResourceType whose own schema can declare additional parameters. Both actions forward any extra template inputs to that schema, so a template targeting a type that declares required parameters must collect and pass those inputs as well. The default ComponentTypes and ResourceTypes shipped with OpenChoreo declare no required parameters, so the columns above are sufficient out of the box; types published by your platform team may require more.
Definition Actions (Raw YAML Input)
These take a yamlContent string containing the resource manifest. Use them when the resource's shape varies enough that a fixed form would be limiting — for example, governance resources that platform teams curate by hand.
| Action ID | Creates | Required input |
|---|---|---|
openchoreo:componenttype-definition:create | Namespaced ComponentType | namespaceName, yamlContent |
openchoreo:resourcetype-definition:create | Namespaced ResourceType | namespaceName, yamlContent |
openchoreo:trait-definition:create | Namespaced Trait | namespaceName, yamlContent |
openchoreo:componentworkflow-definition:create | Namespaced Workflow | namespaceName, yamlContent |
openchoreo:clustercomponenttype-definition:create | Cluster-scoped ClusterComponentType | yamlContent |
openchoreo:clusterresourcetype-definition:create | Cluster-scoped ClusterResourceType | yamlContent |
openchoreo:clustertrait-definition:create | Cluster-scoped ClusterTrait | yamlContent |
openchoreo:clusterworkflow-definition:create | Cluster-scoped ClusterWorkflow | yamlContent |
Each action also emits an entityRef output (and projectName / namespaceName / etc. where applicable) that downstream steps and the template's output.links can consume. The source of truth for every input and output is the action's Zod schema — see plugins/scaffolder-backend-module-openchoreo/src/actions/.
The User-Token Form Decorator
When OpenChoreo runs with authentication enabled, every OpenChoreo action checks for an OPENCHOREO_USER_TOKEN secret in the template execution context. The secret is the signed-in user's OpenChoreo IDP access token — actions present it to the OpenChoreo API so writes are attributed to (and authorized for) the real user, not a shared service account.
The token is injected by a Backstage form decorator that runs in the browser at form-submit time, retrieves the OAuth token from the OpenChoreo auth API, and stashes it into the template's secrets map. Any template that calls an OpenChoreo action must opt into that decorator in its spec:
apiVersion: scaffolder.backstage.io/v1beta3
kind: Template
spec:
  EXPERIMENTAL_formDecorators:
    - id: openchoreo:inject-user-token
  # ... parameters, steps, output ...
Without the decorator the action throws User authentication token not available. Ensure you are logged in. at runtime.
Registering the Decorator
- Shell app
- Own Backstage app
The decorator is already wired into the OpenChoreo shell app — you don't need to do anything. Including EXPERIMENTAL_formDecorators: [{ id: openchoreo:inject-user-token }] in your template spec is sufficient.
The decorator implementation is not yet shipped from a published plugin. Drop the following file into your app and register it once against formDecoratorsApiRef:
import { createScaffolderFormDecorator } from "@backstage/plugin-scaffolder-react/alpha";
import { configApiRef } from "@backstage/core-plugin-api";
import { openChoreoAuthApiRef } from "../apis/authRefs";

export const openChoreoTokenDecorator = createScaffolderFormDecorator({
  id: "openchoreo:inject-user-token",
  deps: { oauthApi: openChoreoAuthApiRef, configApi: configApiRef },
  async decorator({ setSecrets }, { oauthApi, configApi }) {
    const authEnabled =
      configApi.getOptionalBoolean("openchoreo.features.auth.enabled") ?? true;
    if (!authEnabled) return;

    const token = await oauthApi.getAccessToken();
    if (!token) {
      throw new Error(
        "Failed to get authentication token. Ensure you are logged in.",
      );
    }
    setSecrets((state) => ({ ...state, OPENCHOREO_USER_TOKEN: token }));
  },
});
Register it in packages/app/src/apis.ts:
import {
  DefaultScaffolderFormDecoratorsApi,
  formDecoratorsApiRef,
} from "@backstage/plugin-scaffolder-react/alpha";
import { openChoreoTokenDecorator } from "./scaffolder/openChoreoTokenDecorator";

export const apis: AnyApiFactory[] = [
  // ... existing factories ...
  createApiFactory({
    api: formDecoratorsApiRef,
    deps: {},
    factory: () =>
      DefaultScaffolderFormDecoratorsApi.create({
        decorators: [openChoreoTokenDecorator],
      }),
  }),
];
The openChoreoAuthApiRef import is the same one wired up in section 4.3.2 of the install guide.
Example Template
The template below is an example of what a custom scaffolder template can look like. It onboards a new team by chaining three OpenChoreo scaffolder actions — openchoreo:namespace:create, openchoreo:deployment-pipeline:create, and openchoreo:project:create — into a single user-facing form, with each step's outputs feeding the next.
apiVersion: scaffolder.backstage.io/v1beta3
kind: Template
metadata:
  name: onboard-team
  title: Onboard a new team
  description: |
    Provision a namespace, a deployment pipeline, and a starter project for a
    new team. All three resources are created in a single flow.
  tags:
    - openchoreo
    - platform-setup
spec:
  owner: platform-engineering
  type: team

  # Inject the signed-in user's OpenChoreo IDP token as OPENCHOREO_USER_TOKEN.
  # Required by every OpenChoreo action whenever the cluster runs with auth enabled.
  EXPERIMENTAL_formDecorators:
    - id: openchoreo:inject-user-token

  parameters:
    - title: Team details
      required: [teamName, sourceEnvironment, targetEnvironment]
      properties:
        teamName:
          title: Team name
          type: string
          pattern: "^[a-z0-9]([-a-z0-9]*[a-z0-9])?$"
          description: Lowercase, hyphenated. Used as the namespace name.
        sourceEnvironment:
          title: Source environment
          type: string
          description: First environment in the promotion path (e.g. "dev"). Must already exist.
        targetEnvironment:
          title: Target environment
          type: string
          description: Final environment in the promotion path (e.g. "prod"). Must already exist.

  steps:
    # 1. Create the namespace.
    - id: namespace
      name: Create namespace
      action: openchoreo:namespace:create
      input:
        namespaceName: ${{ parameters.teamName }}

    # 2. Create a deployment pipeline in the new namespace, referencing the
    #    namespaceName output of step 1.
    - id: pipeline
      name: Create deployment pipeline
      action: openchoreo:deployment-pipeline:create
      input:
        namespaceName: ${{ steps.namespace.output.namespaceName }}
        pipelineName: ${{ parameters.teamName }}-pipeline
        promotionPaths:
          - sourceEnvironmentRef:
              name: ${{ parameters.sourceEnvironment }}
            targetEnvironmentRefs:
              - name: ${{ parameters.targetEnvironment }}

    # 3. Create a starter project that uses the new pipeline, referencing
    #    outputs from both earlier steps.
    - id: project
      name: Create starter project
      action: openchoreo:project:create
      input:
        namespaceName: ${{ steps.namespace.output.namespaceName }}
        projectName: ${{ parameters.teamName }}-starter
        deploymentPipeline: ${{ steps.pipeline.output.pipelineName }}

  output:
    links:
      - title: Namespace
        icon: catalog
        entityRef: ${{ steps.namespace.output.entityRef }}
      - title: Deployment pipeline
        icon: catalog
        entityRef: ${{ steps.pipeline.output.entityRef }}
      - title: Starter project
        icon: catalog
        entityRef: ${{ steps.project.output.entityRef }}
The example uses plain JSON Schema input fields so the template is portable to any Backstage instance. If you're running the OpenChoreo shell app, several OpenChoreo-specific field extensions are also available — NamespaceEntityPicker, ResourceNamePicker, DeploymentPipelinePicker, ComponentNamePicker, BuildWorkflowPicker, TraitsField, and others — that you can swap in via ui:field: for richer dropdowns, validation, and entity-aware behavior. See the in-tree templates for examples of how each is wired up.
Making the Template Discoverable
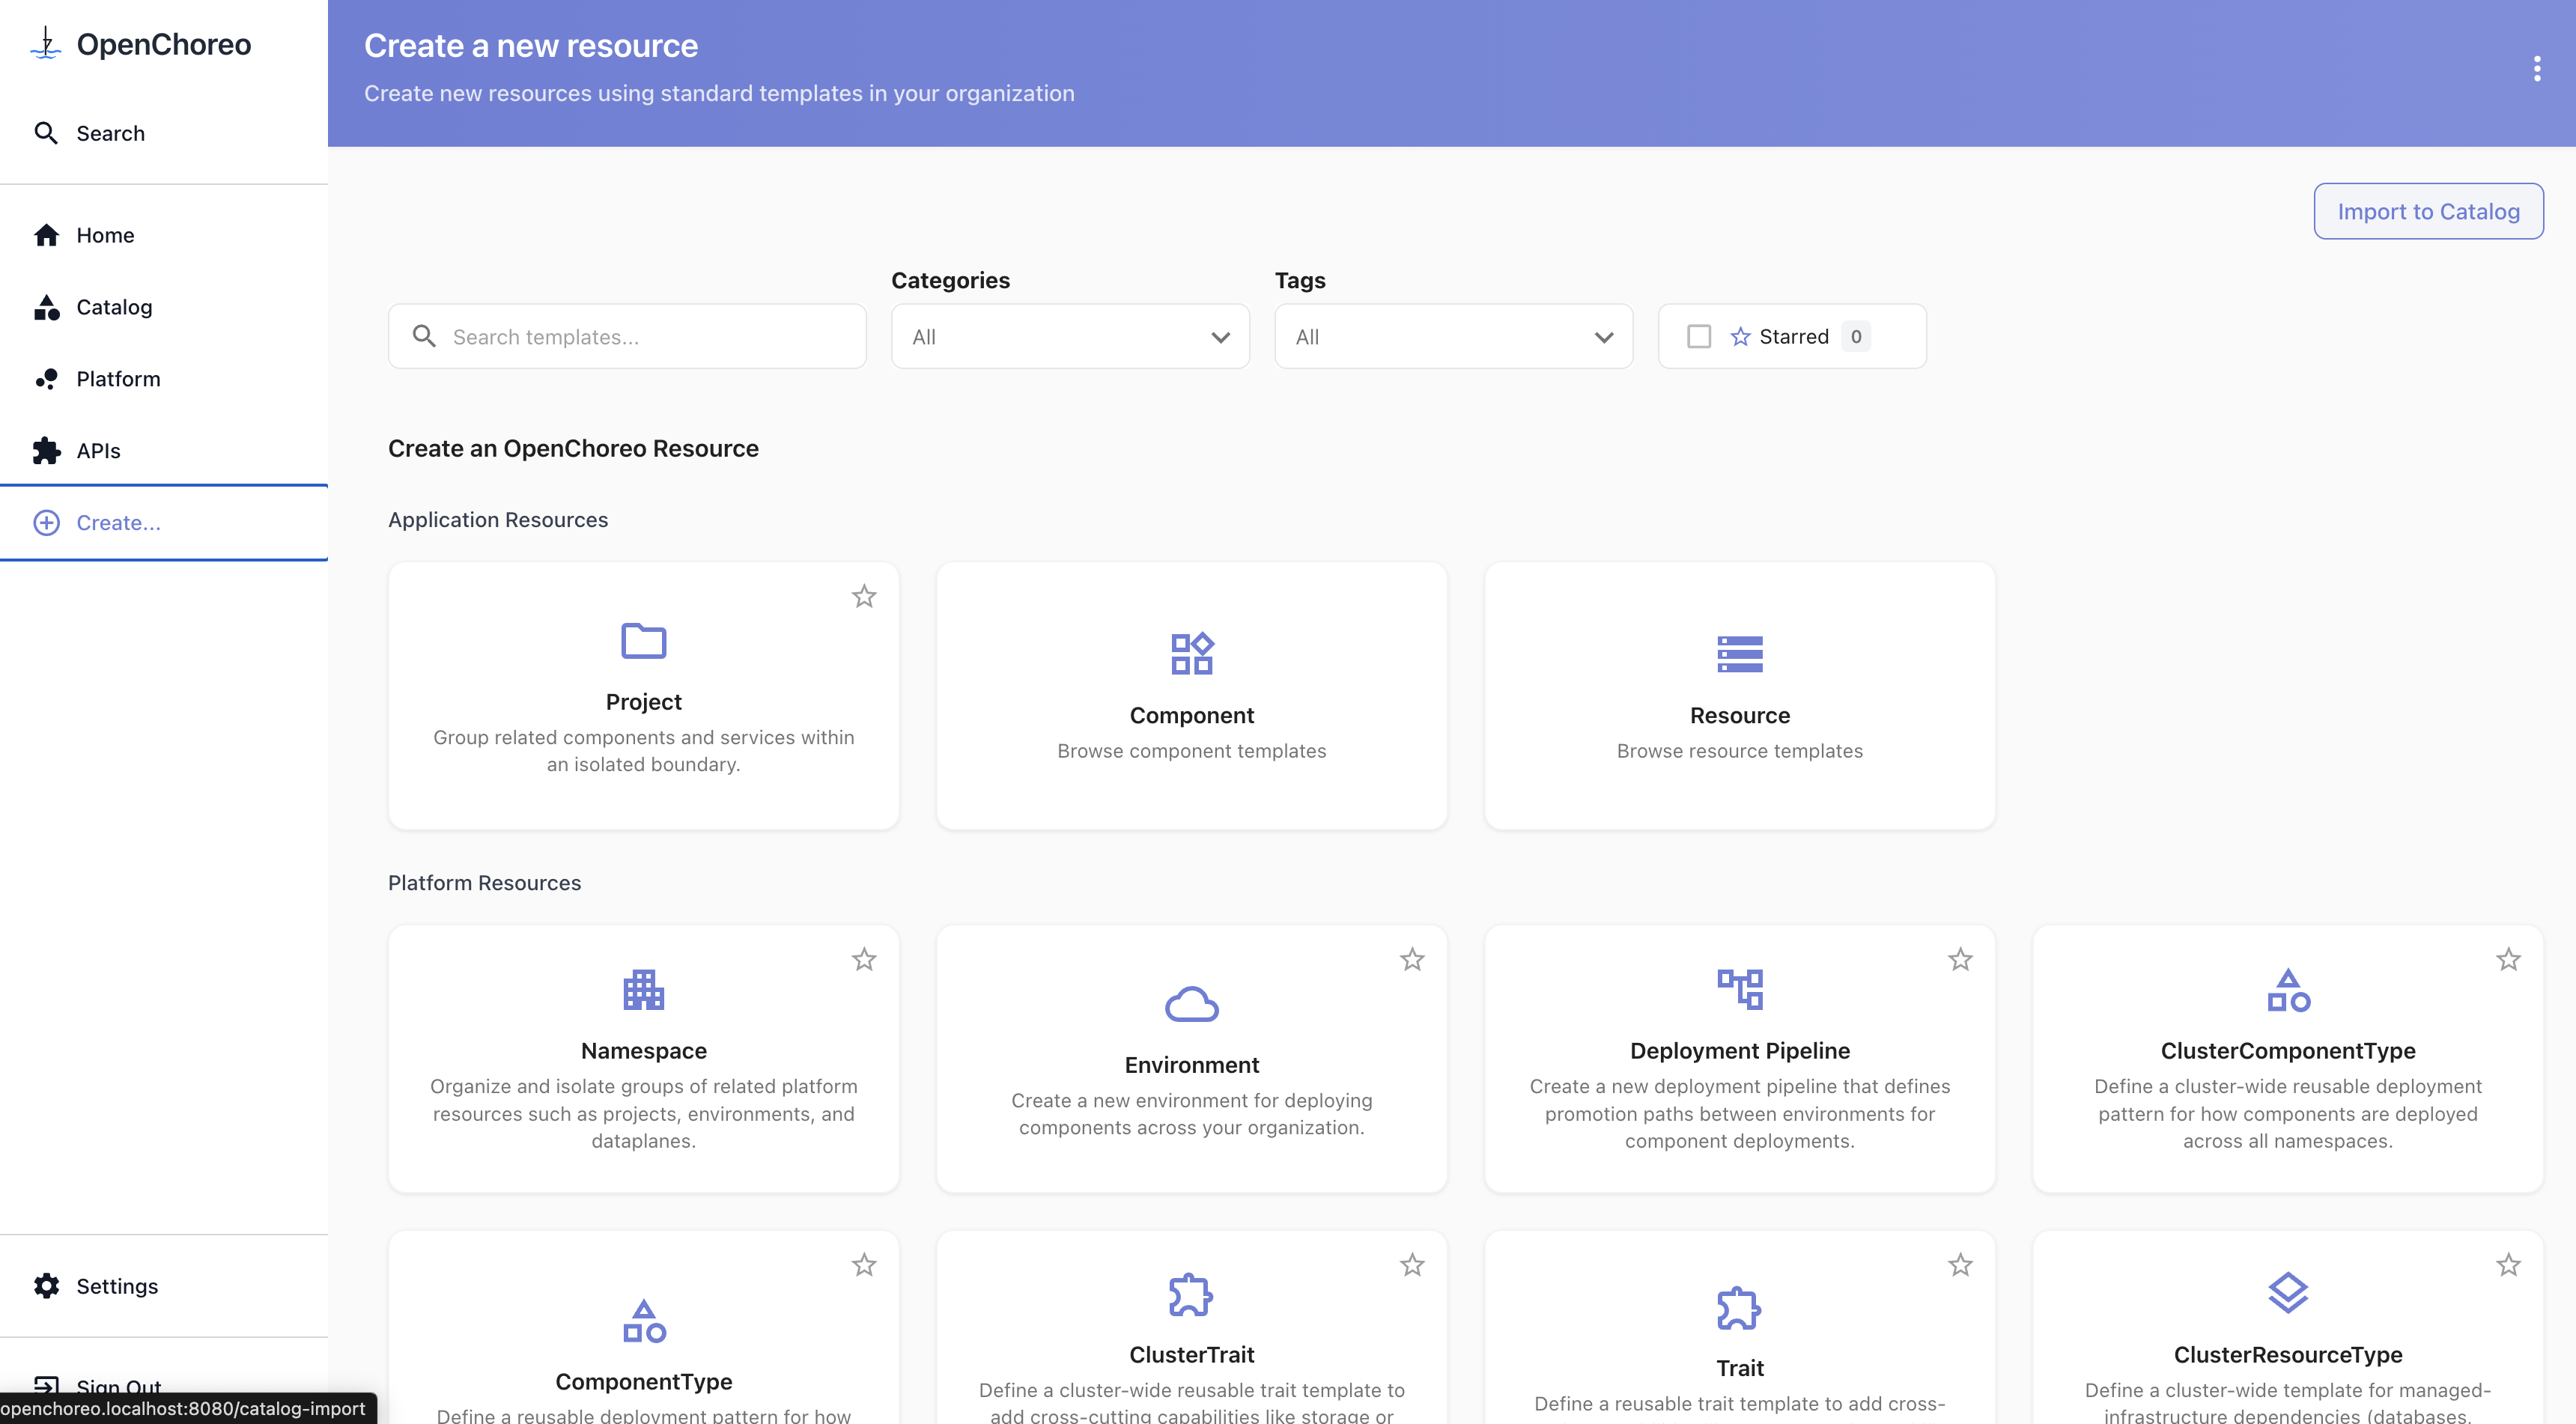
A template only appears in the scaffolder's Create page once Backstage has ingested it.
This section assumes your template.yaml lives in a GitHub repository. For templates hosted in other supported sources (GitLab, Bitbucket, AWS S3, Google GCS, etc.), the same mechanisms apply — you'll just configure a different integrations.* block. See the Backstage integrations reference for the full list of supported sources. Sources Backstage doesn't natively support (Google Drive, OneDrive, etc.) need to be mirrored into a supported backend first.
Two approaches are documented below, and they're not mutually exclusive:
- Catalog Import UI — paste a URL into Backstage's
/catalog-importwizard. The Location is stored in the Backstage database and does not survive a fresh install or DB reset. catalog.locations— declare the template inapp-config. The Location is config-resident, version-controlled alongside the rest of your platform settings, and survives a fresh install.
Pick the tab below that matches your setup; each tab walks through both approaches plus a single Applying Your Changes step at the end.
- Shell app
- Own Backstage app
For the shell app, every change below is an edit to a single values.override.yaml, applied via one helm upgrade --reuse-values at the end. You don't need separate upgrades per change.
Prerequisite: GitHub Integration
Backstage needs an integrations.github block in app-config to recognize github.com as a fetchable host.
For private repo access, configure a GitHub Personal Access Token (or GitHub App) with the required read permissions on the repository, and store it in a Kubernetes secret:
kubectl create secret generic backstage-git-secrets \
  --namespace openchoreo-control-plane \
  --from-literal=github-token='ghp_your_personal_access_token' \
  --dry-run=client -o yaml | kubectl apply -f -
For a private repo, add to values.override.yaml:
backstage:
  extraEnv:
    - name: GITHUB_TOKEN
      valueFrom:
        secretKeyRef:
          name: backstage-git-secrets
          key: github-token

  appConfig:
    integrations:
      github:
        - host: github.com
          token: ${GITHUB_TOKEN}
For a public repo, add to values.override.yaml:
backstage:
  appConfig:
    integrations:
      github:
        - host: github.com
Approach 1: Register via the Catalog Import UI
Backstage ships a wizard at Create → Import to Catalog (route: /catalog-import) that accepts a URL to any entity file and registers it as a Location in the catalog database. This is the lowest-friction path for one-off template additions.
One-time setup: allow Template entities globally. The OpenChoreo shell app's bundled catalog.rules.allow does not include Template at the global level — the default templates work because each is declared in catalog.locations with its own per-location allow: [Template] rule. UI-imported Locations live in the database and have no per-location rules to fall back on, so the global rules apply, and Backstage rejects the Template entity with NotAllowedError unless Template is in the global allow list.
Fragment for values.override.yaml:
backstage:
  appConfig:
    catalog:
      rules:
        - allow:
            - Component
            - System
            - API
            - Resource
            - Location
            - User
            - Group
            - Environment
            - Template # <-- new
The list mirrors the chart-shipped defaults plus Template. The wizard is used after the changes are applied — see Applying Your Changes below.
Approach 2: Register via catalog.locations
Declare the template as a Location in app-config. Locations defined this way are config-resident: they survive a fresh install, live in version control alongside the rest of your platform settings, and don't require the catalog.rules tweak from Approach 1 (the per-location rules: [allow: [Template]] is enough).
The custom-template fragment (the bundled defaults are listed in the combined example below):
- type: url
  target: https://github.com/<your-org>/<repo>/blob/main/template.yaml
  rules:
    - allow: [Template]
Applying Your Changes
Merge the fragments above into one values.override.yaml and apply with a single helm upgrade. The example below combines all the fragments — strip whichever blocks you don't need (e.g., remove the rules block if you only use Approach 2, or remove the extraEnv and token: line for a public repo).
Backstage replaces arrays across configs rather than concatenating them. Any catalog.* block you set in values.override.yaml must contain the full value, including the chart-shipped defaults — listing only your additions would drop everything else. The example below re-declares the bundled defaults for both catalog.rules and catalog.locations so you can copy it as-is. See the Backstage configuration docs for the merge semantics.
backstage:
  # Prerequisite: PAT secret env var. Omit if your repo is public.
  extraEnv:
    - name: GITHUB_TOKEN
      valueFrom:
        secretKeyRef:
          name: backstage-git-secrets
          key: github-token

  appConfig:
    # Prerequisite: GitHub integration (required for both approaches).
    integrations:
      github:
        - host: github.com
          # Remove the `token` line if your repo is public.
          token: ${GITHUB_TOKEN}

    catalog:
      # Approach 1: allow Template entities globally so UI imports succeed.
      # Omit this block if you only use Approach 2.
      rules:
        - allow:
            - Component
            - System
            - API
            - Resource
            - Location
            - User
            - Group
            - Environment
            - Template

      # Approach 2: declare templates via catalog.locations.
      # Omit this block if you only use Approach 1.
      locations:
        # Bundled defaults — must be re-declared due to array replacement.
        - type: file
          target: /app/catalog-entities/org.yaml
          rules:
            - allow: [Group]
        - type: file
          target: /app/templates/create-openchoreo-project/template.yaml
          rules:
            - allow: [Template]
        - type: file
          target: /app/templates/create-openchoreo-componenttype/template.yaml
          rules:
            - allow: [Template]
        - type: file
          target: /app/templates/create-openchoreo-resourcetype/template.yaml
          rules:
            - allow: [Template]
        - type: file
          target: /app/templates/create-openchoreo-trait/template.yaml
          rules:
            - allow: [Template]
        - type: file
          target: /app/templates/create-openchoreo-workflow/template.yaml
          rules:
            - allow: [Template]
        - type: file
          target: /app/templates/create-openchoreo-environment/template.yaml
          rules:
            - allow: [Template]
        - type: file
          target: /app/templates/create-openchoreo-namespace/template.yaml
          rules:
            - allow: [Template]
        - type: file
          target: /app/templates/create-openchoreo-deploymentpipeline/template.yaml
          rules:
            - allow: [Template]
        - type: file
          target: /app/templates/create-openchoreo-clustercomponenttype/template.yaml
          rules:
            - allow: [Template]
        - type: file
          target: /app/templates/create-openchoreo-clusterresourcetype/template.yaml
          rules:
            - allow: [Template]
        - type: file
          target: /app/templates/create-openchoreo-clustertrait/template.yaml
          rules:
            - allow: [Template]
        - type: file
          target: /app/templates/create-openchoreo-clusterworkflow/template.yaml
          rules:
            - allow: [Template]

        # Your custom template (Approach 2).
        - type: url
          target: https://github.com/<your-org>/<repo>/blob/main/template.yaml
          rules:
            - allow: [Template]
Apply with a single helm upgrade --reuse-values:
helm upgrade openchoreo-control-plane oci://ghcr.io/openchoreo/helm-charts/openchoreo-control-plane \
--version 0.0.0-latest-dev \
--namespace openchoreo-control-plane \
--reuse-values \
-f values.override.yaml
The chart rolls the Backstage pod automatically when the rendered ConfigMap changes. If the new config isn't picked up, force a restart:
kubectl rollout restart deployment/backstage -n openchoreo-control-plane
If you're using Approach 1, navigate to Create → Import to Catalog after the pod is back up.
Paste the blob URL of your template.yaml:
https://github.com/<your-org>/<repo>/blob/main/template.yaml
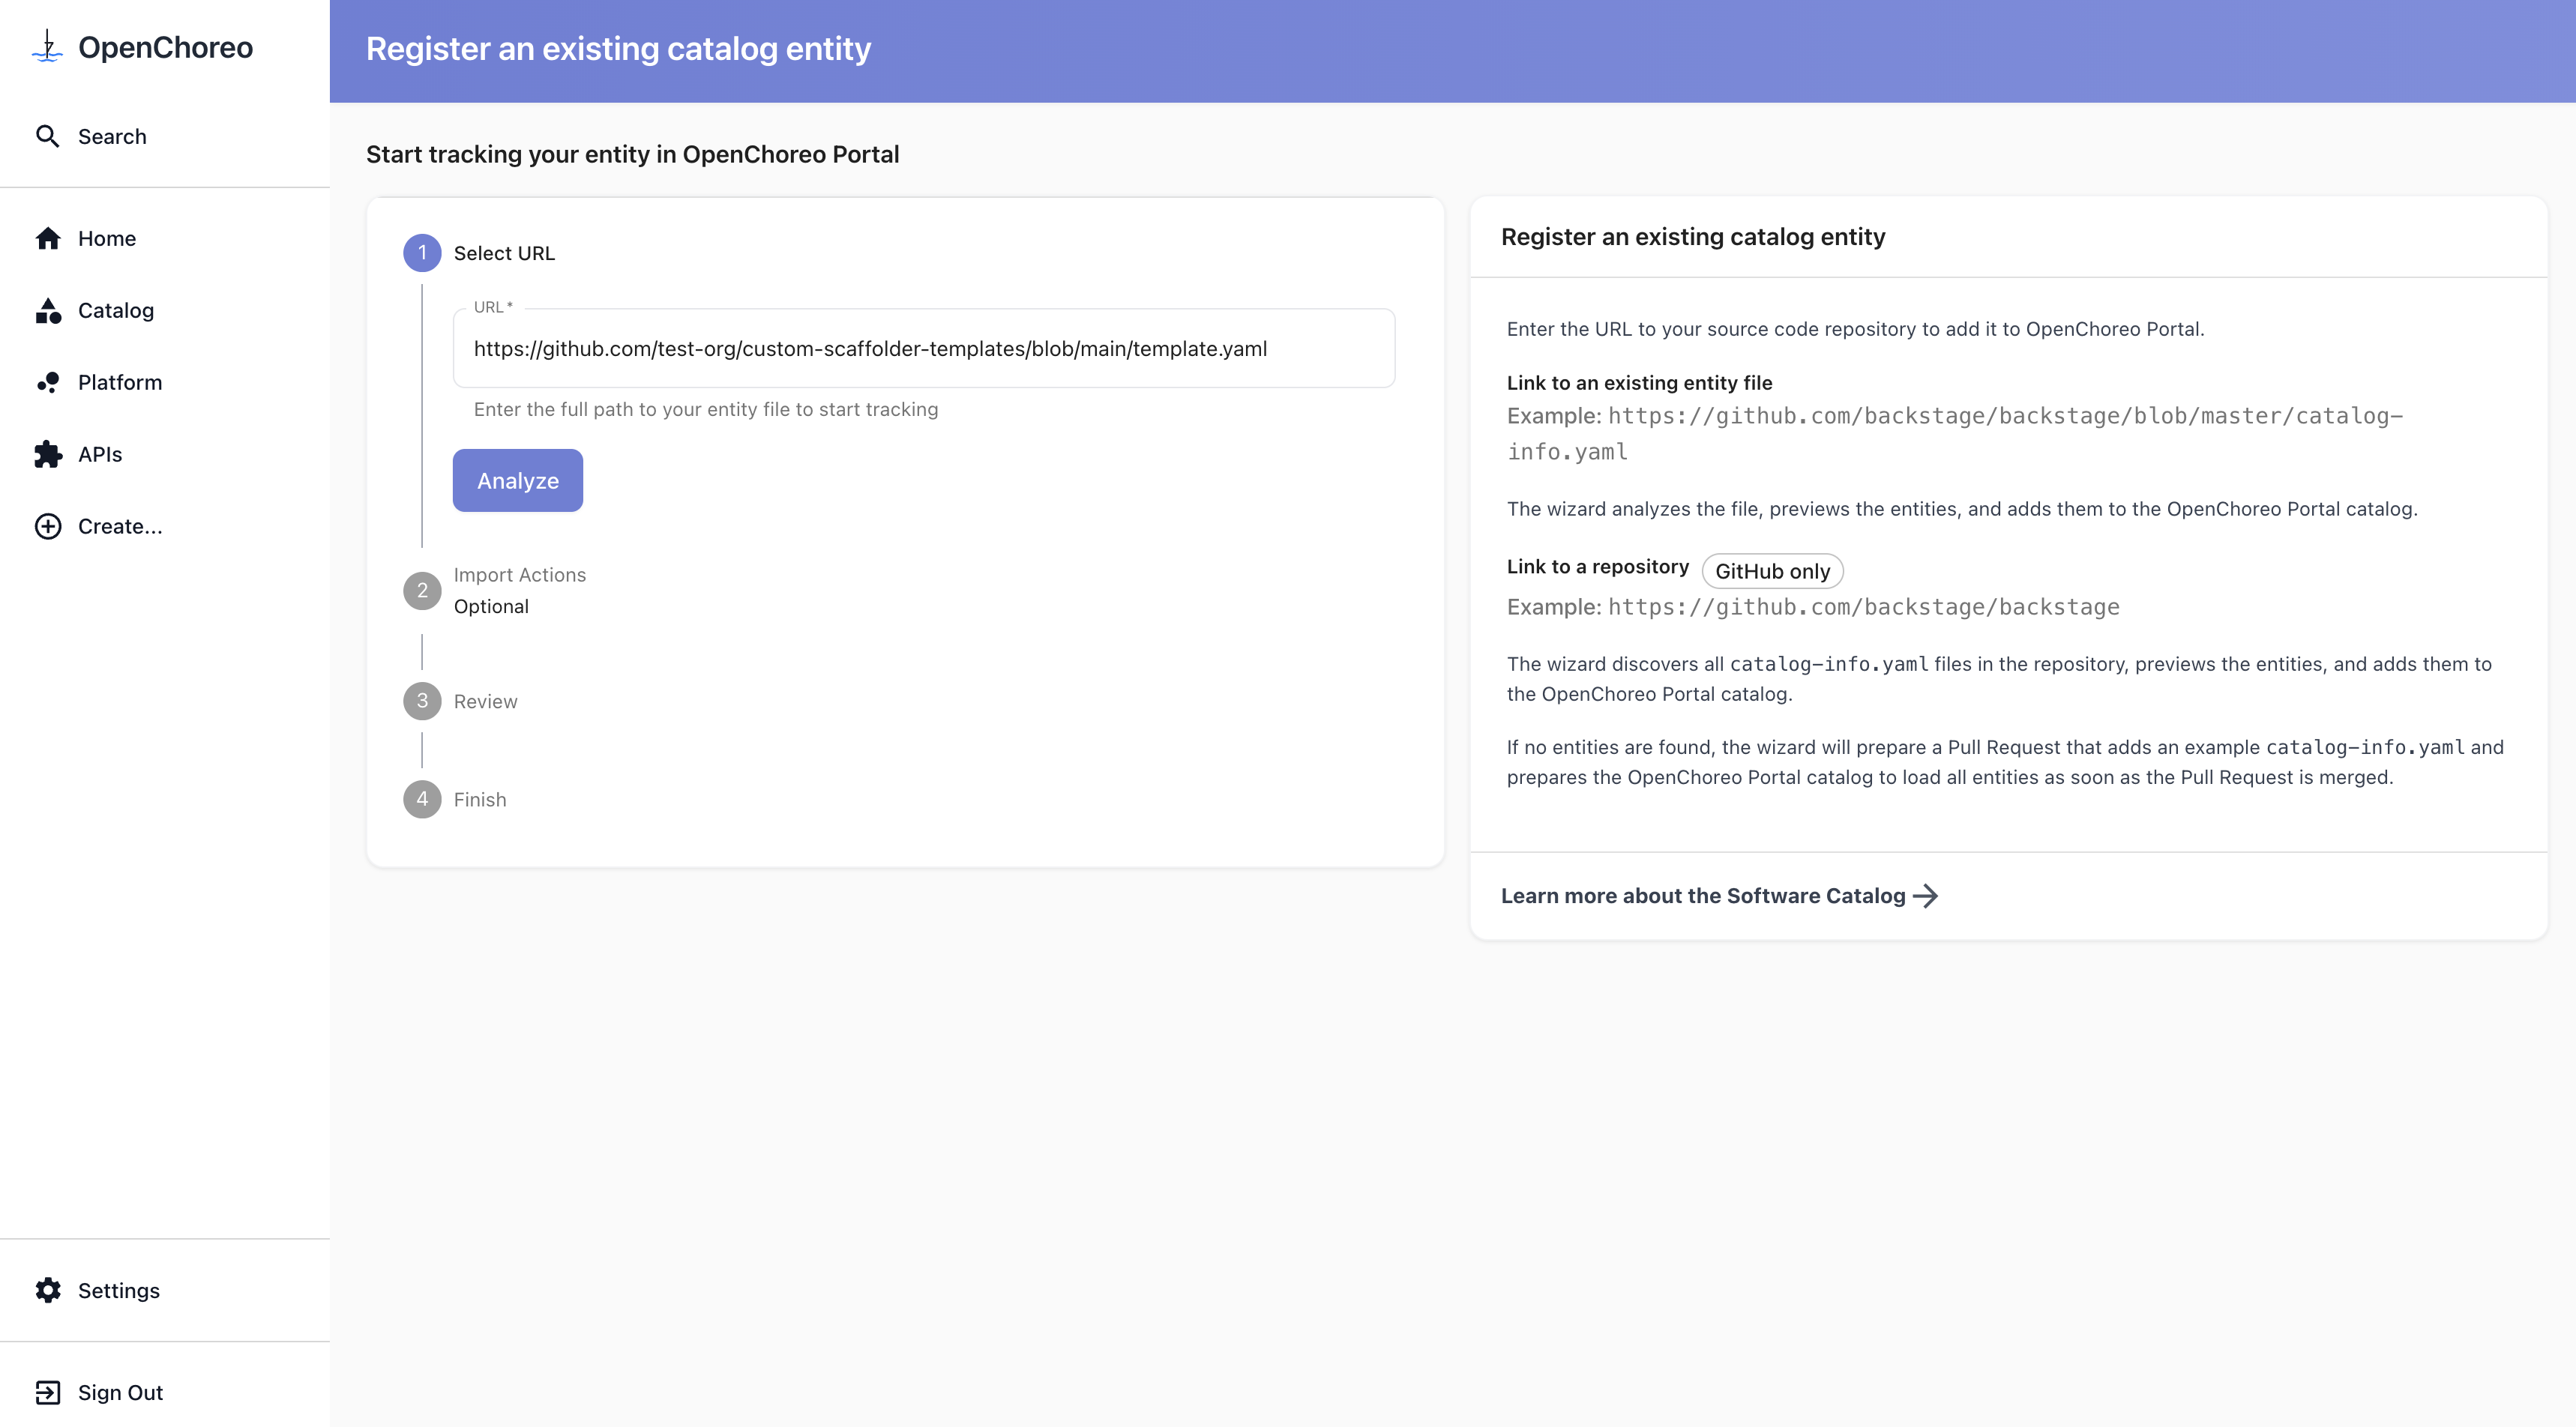
Click Analyze, review the preview, then Import. The template appears under Create within a few seconds. Repeat for each new template — no further chart upgrade needed.
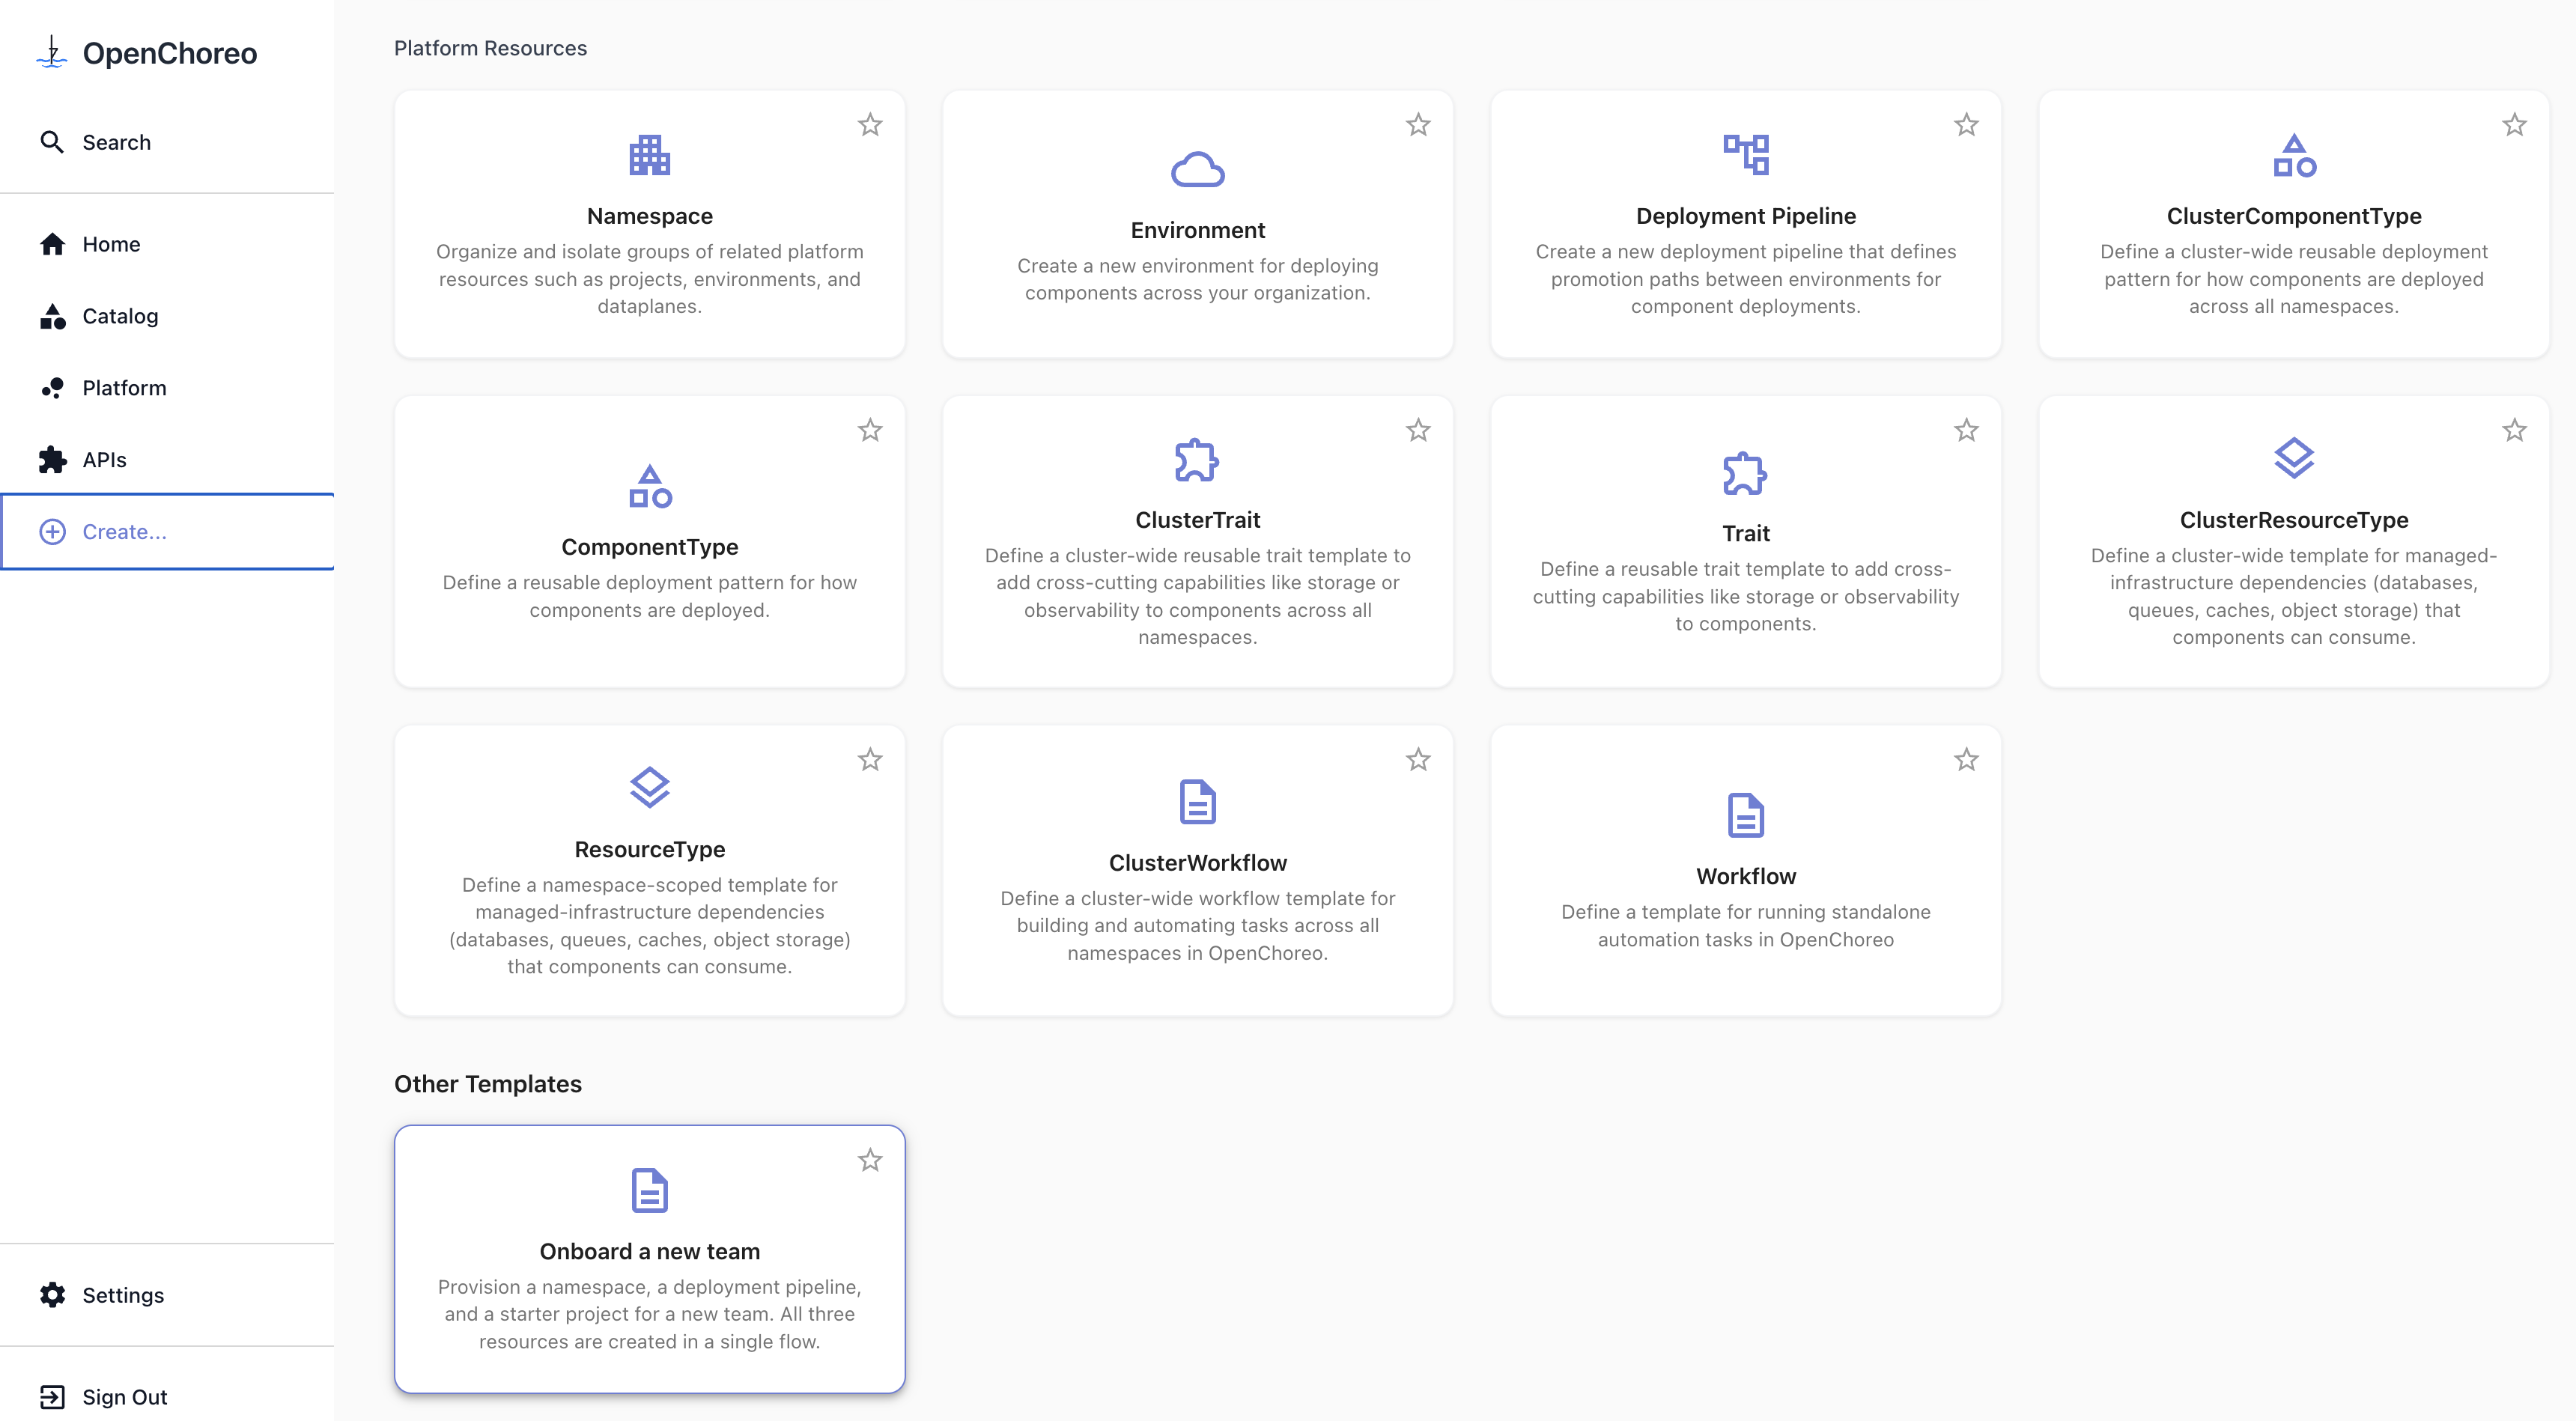
How It Appears in the Portal
Once the template's Location is ingested (and, for catalog.locations changes, the Backstage pod is restarted), the new template shows up on Backstage's Create page under Other Templates section.
For an own Backstage app, every change below is an edit to your app-config.yaml. Restart Backstage (e.g., yarn dev) once after all the edits.
Prerequisite: GitHub Integration
Add integrations.github to your app-config.yaml. The block is required regardless of whether your template repo is public or private — only the token within it is conditional:
integrations:
  github:
    - host: github.com
      # Omit the `token` line for a public repo.
      token: ${GITHUB_TOKEN}
For a private repo, set GITHUB_TOKEN in the environment where Backstage runs (your shell, a .env file in dev, or the deployment's env in production). Don't commit the token to source control. For classic PATs, the repo scope is sufficient; for fine-grained PATs, grant Contents: Read on the template repository.
For a public repo, omit the token: line and the env var entirely.
Approach 1: Register via the Catalog Import UI
Backstage ships a wizard at Create → Import to Catalog (route: /catalog-import) that accepts a URL to any entity file and registers it as a Location in the catalog database.
One-time setup: allow Template entities globally. UI-imported Locations live in the database and don't carry per-location rules, so the global catalog.rules.allow list must include Template for the Template entity to be accepted:
catalog:
  rules:
    - allow:
        - Component
        - System
        - API
        - Resource
        - Location
        - User
        - Group
        - Template # <-- new
Adjust the list to mirror whatever your existing catalog.rules.allow contains, plus Template. The wizard is used after the changes are applied — see Applying Your Changes below.
Approach 2: Register via catalog.locations
Declare the template as a Location in catalog.locations. The per-location rules: [allow: [Template]] makes the global allow-list tweak unnecessary:
catalog:
  locations:
    # ...your existing entries...
    - type: url
      target: https://github.com/<your-org>/<repo>/blob/main/template.yaml
      rules:
        - allow: [Template]
For the general form of catalog.locations entries — including how to index many templates from one Location pointer file — see Backstage's catalog configuration docs.
Applying Your Changes
Save your app-config.yaml and restart Backstage. If you're using Approach 1, navigate to Create → Import to Catalog after the restart. Paste the blob URL of your template.yaml:
https://github.com/<your-org>/<repo>/blob/main/template.yaml
Click Analyze, review the preview, then Import.