Custom Roles and Bindings
This guide walks through creating custom roles and role bindings to control access in your OpenChoreo installation using the Access Control UI in Backstage.
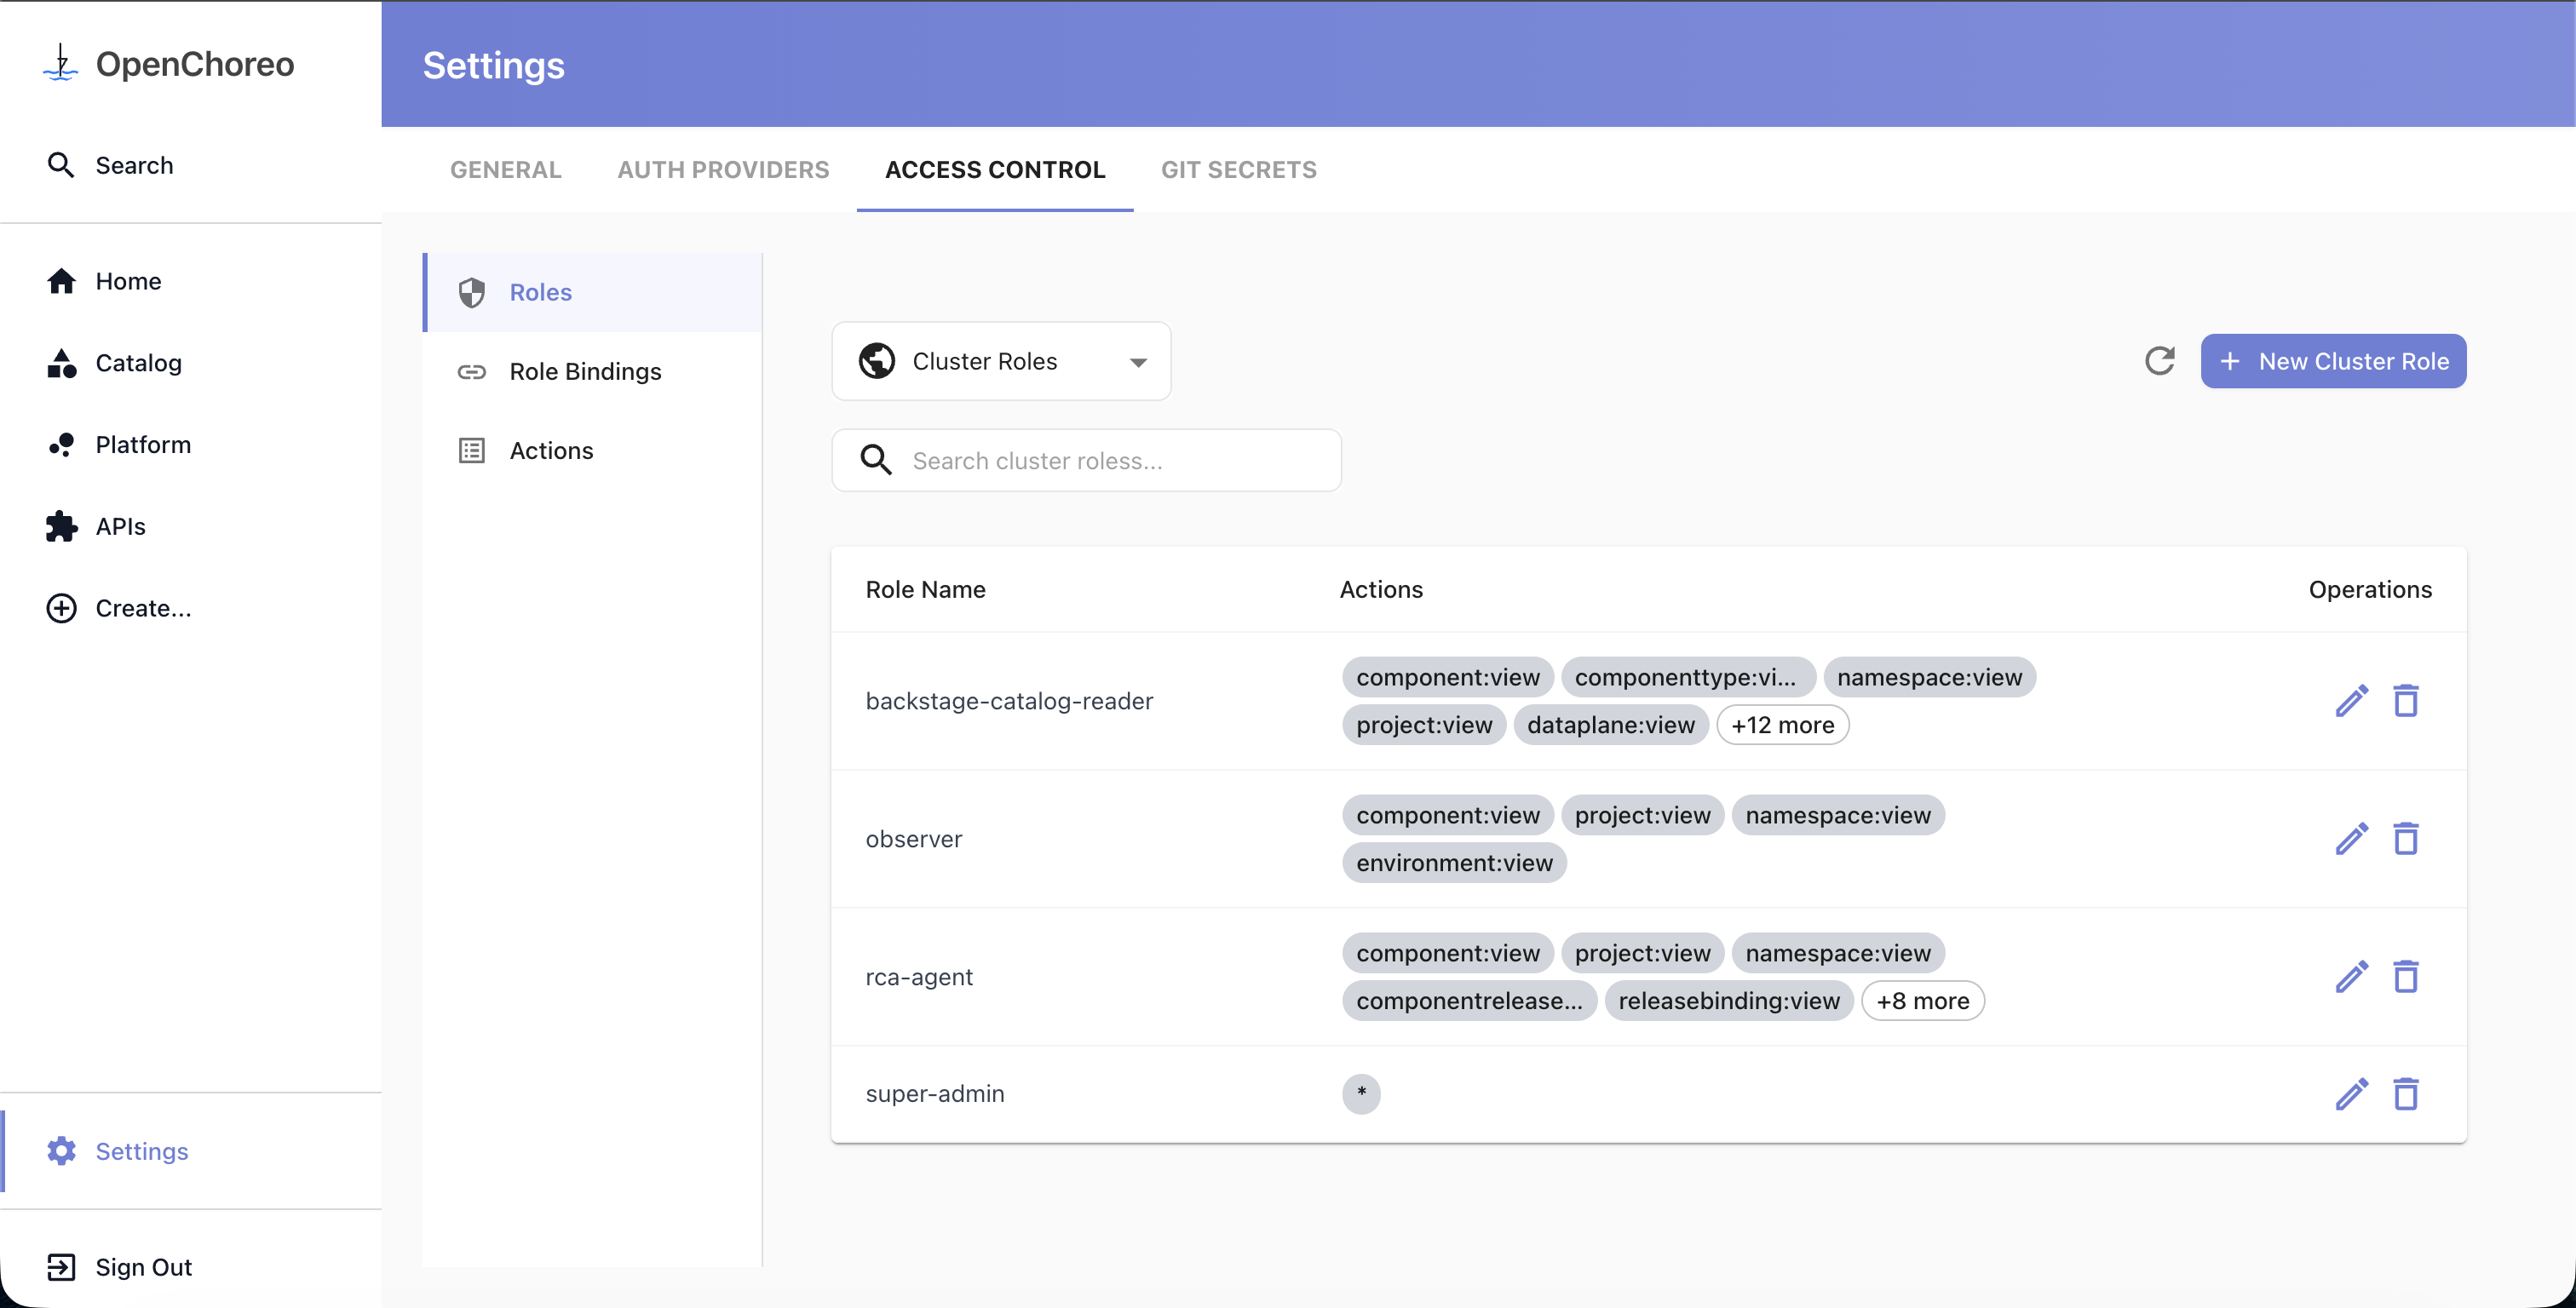
Access Control UI
Navigate to Settings in the Backstage left sidebar, then select the Access Control tab. The page has three sections in the left sidebar:
- Roles — manage cluster and namespace-scoped roles
- Role Bindings — manage bindings that connect subjects to roles
- Actions — browse all available actions in the system
The Roles section has a dropdown to switch between Cluster Roles and Namespace Roles for managing resources at the appropriate scope.
Creating a Role
- Go to Settings → Access Control → Roles
- Use the dropdown to select Cluster Roles or Namespace Roles depending on the scope you need
- For namespace roles, select the target namespace from the dropdown first
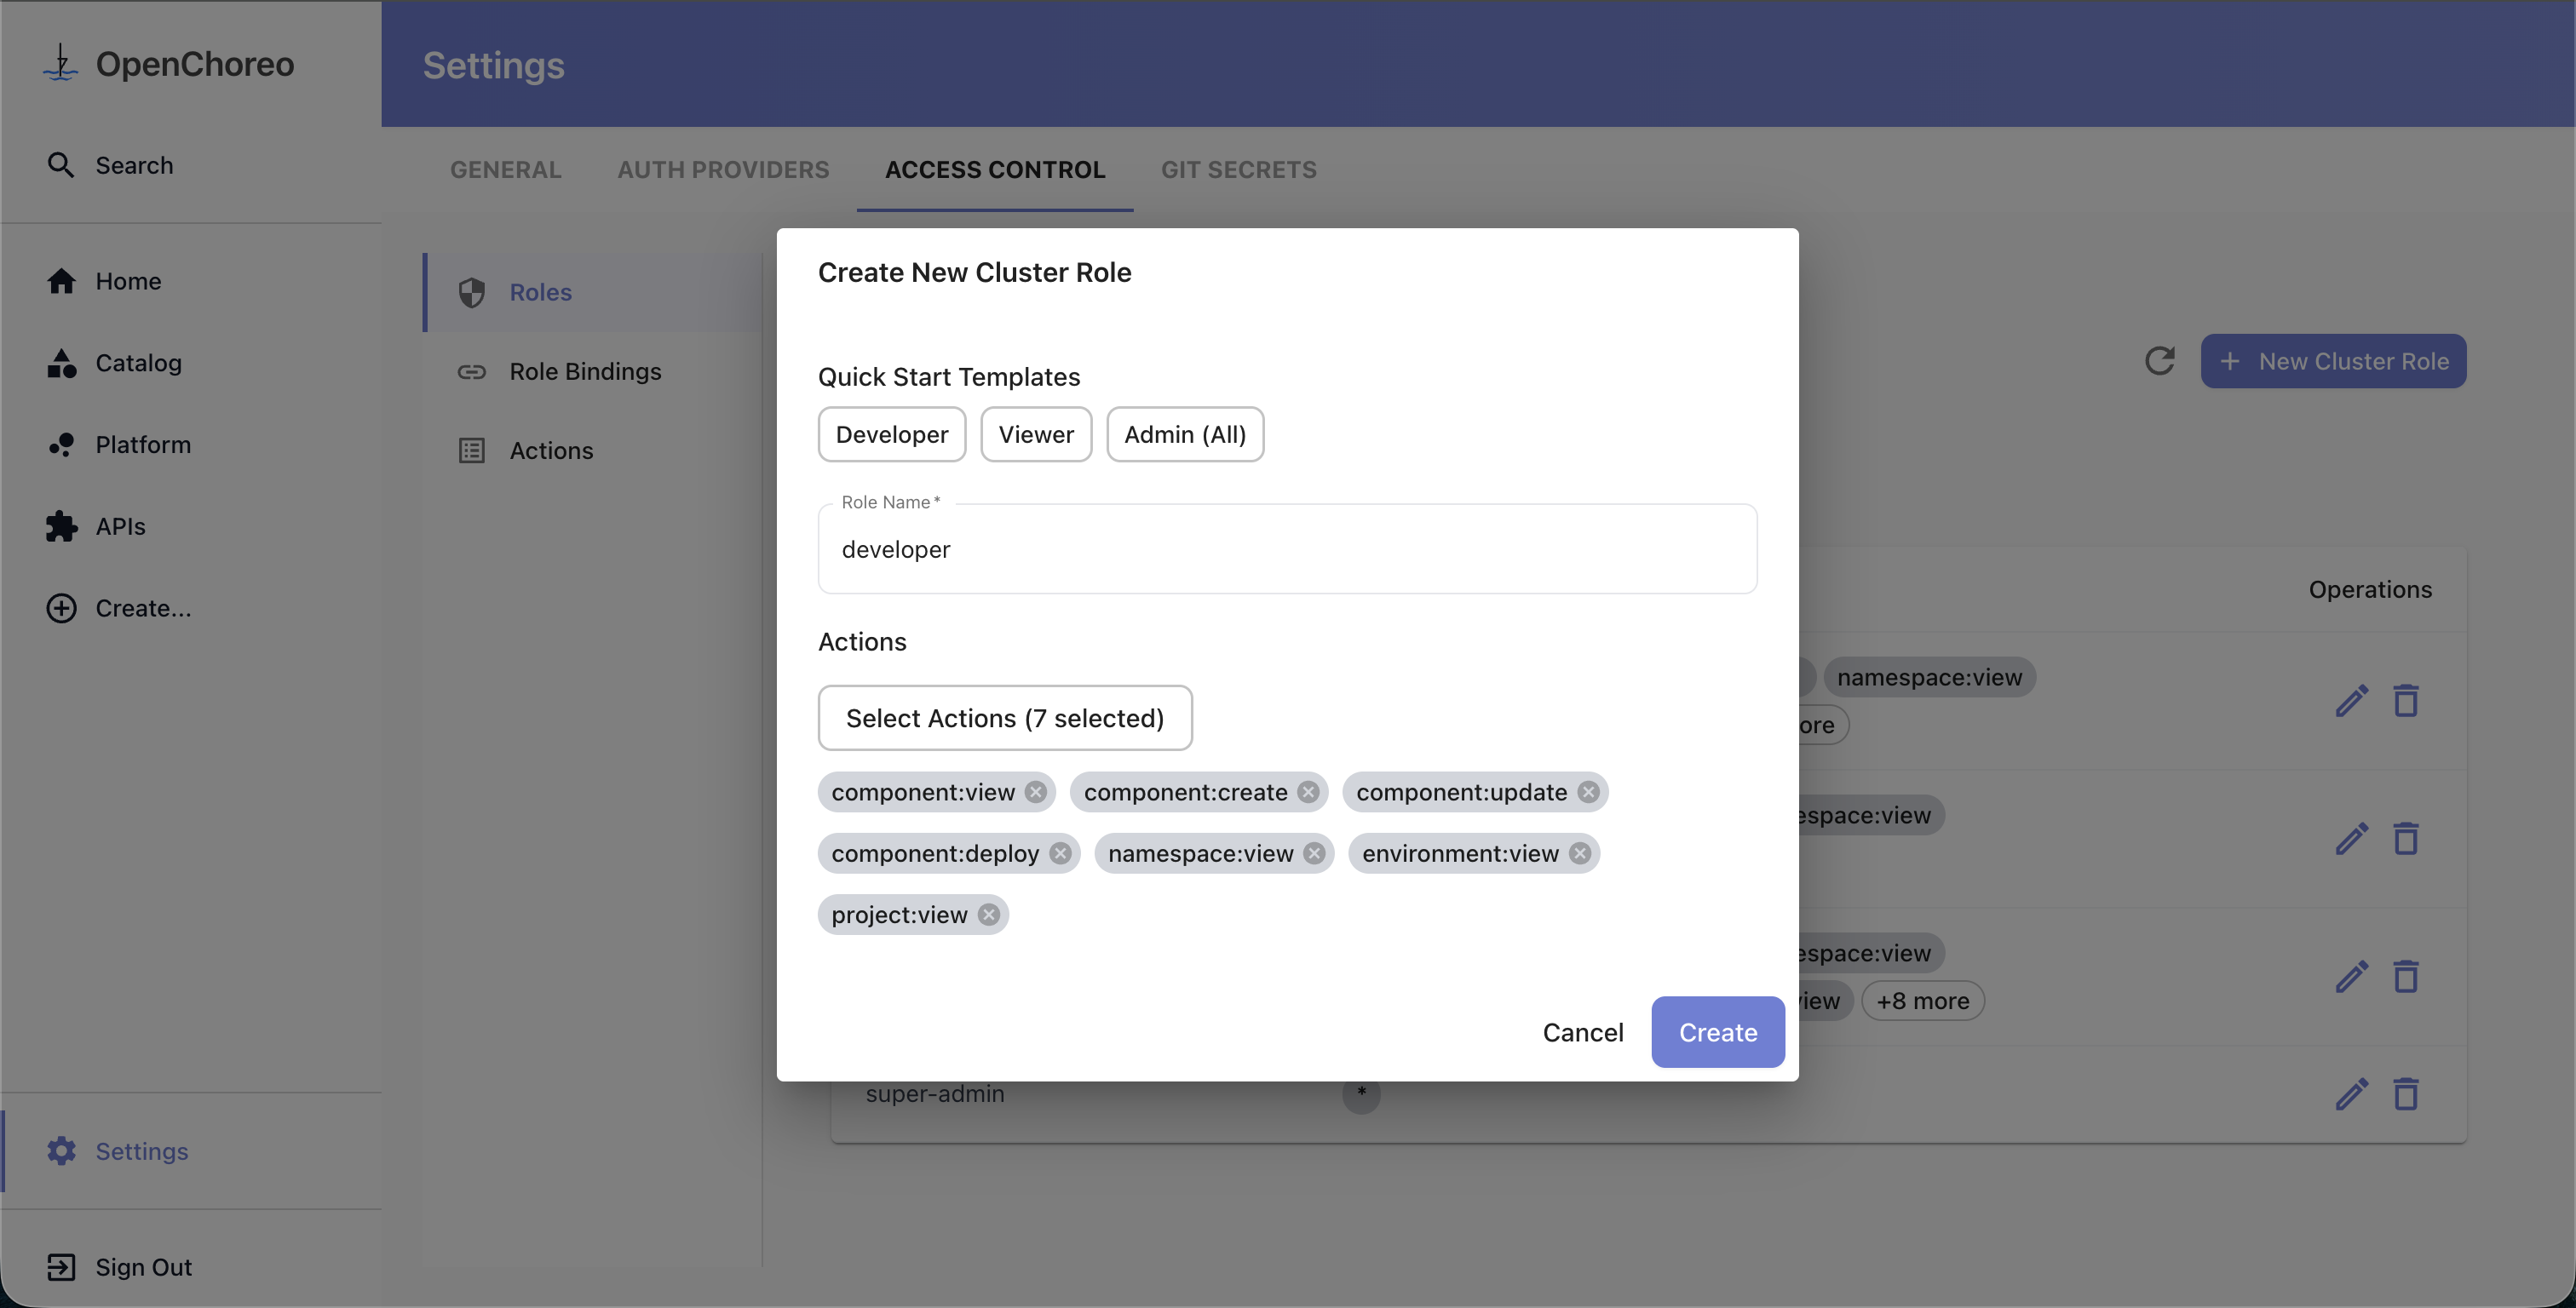
- Click New Cluster Role or New Namespace Role
- In the dialog:
- Optionally select a quick start template (Developer, Viewer, or Admin) to pre-fill actions
- Enter a Role Name
- Click Select Actions to open the action picker — actions are grouped by resource type, and you can select individual actions, all actions for a resource type (e.g.,
component:*), or all actions (*)
- Click Create
Creating a Role Binding
Role bindings connect a subject to one or more roles, each with its own scope. The UI uses a step-by-step wizard to guide you through the process.
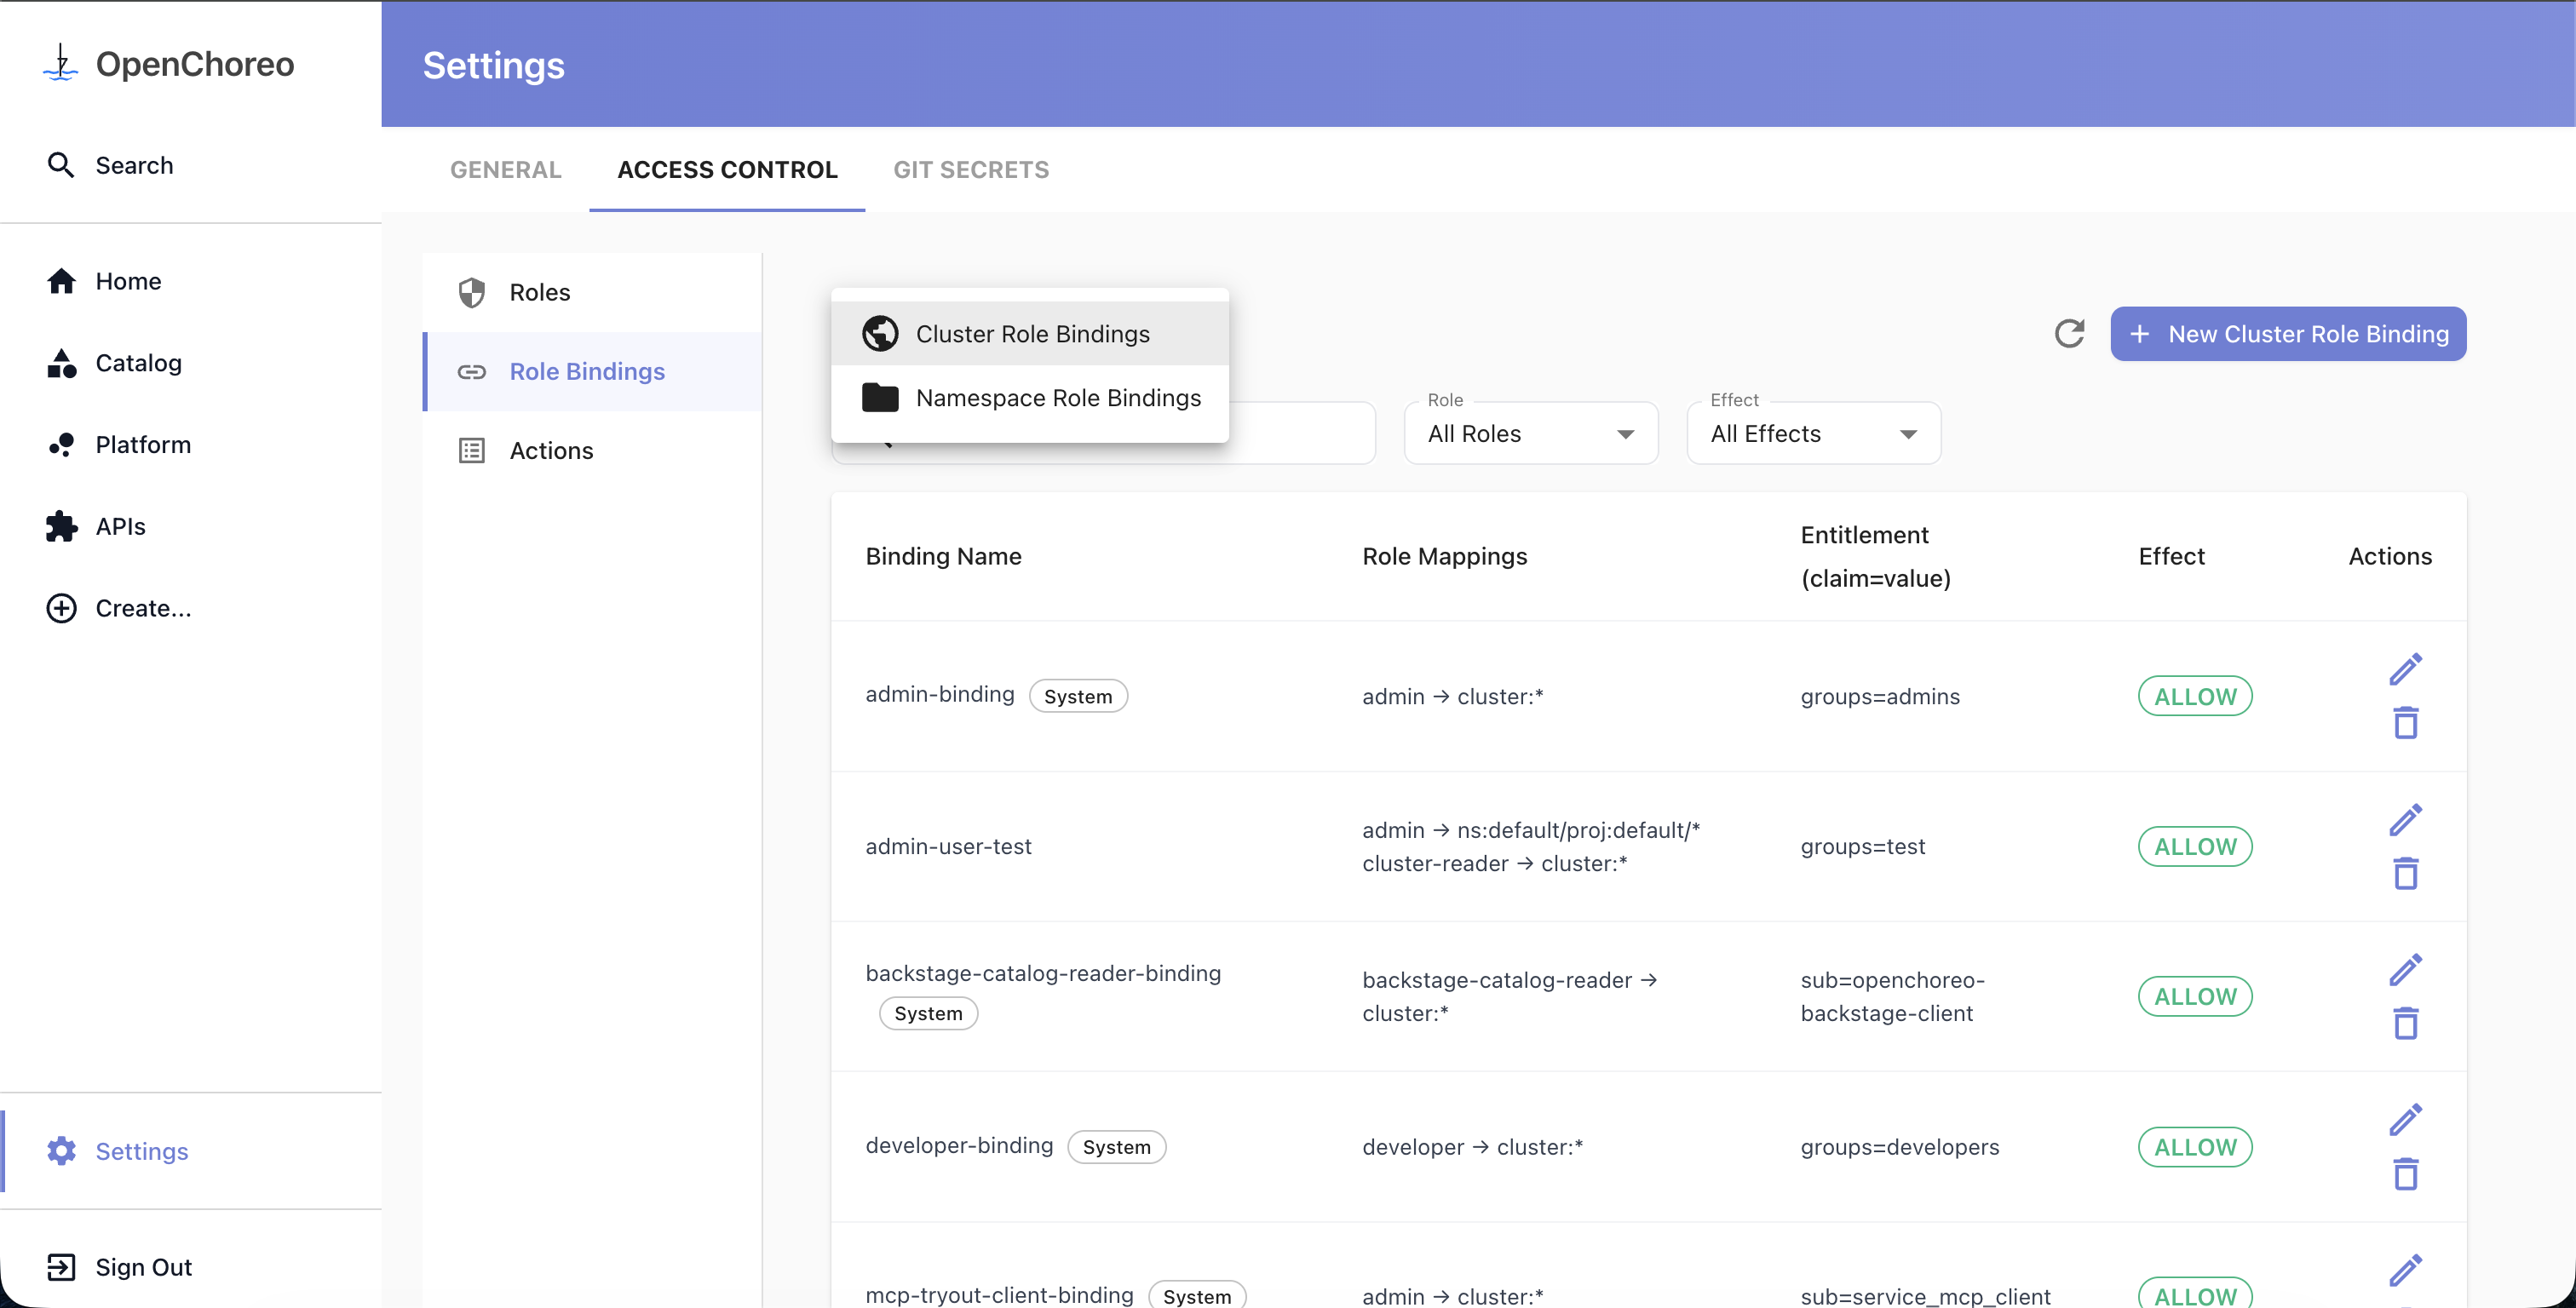
- Go to Settings → Access Control → Role Bindings
- Use the dropdown to select Cluster Role Bindings or Namespace Role Bindings
- For namespace bindings, select the target namespace from the dropdown first
- Click New Cluster Role Binding or New Namespace Role Binding
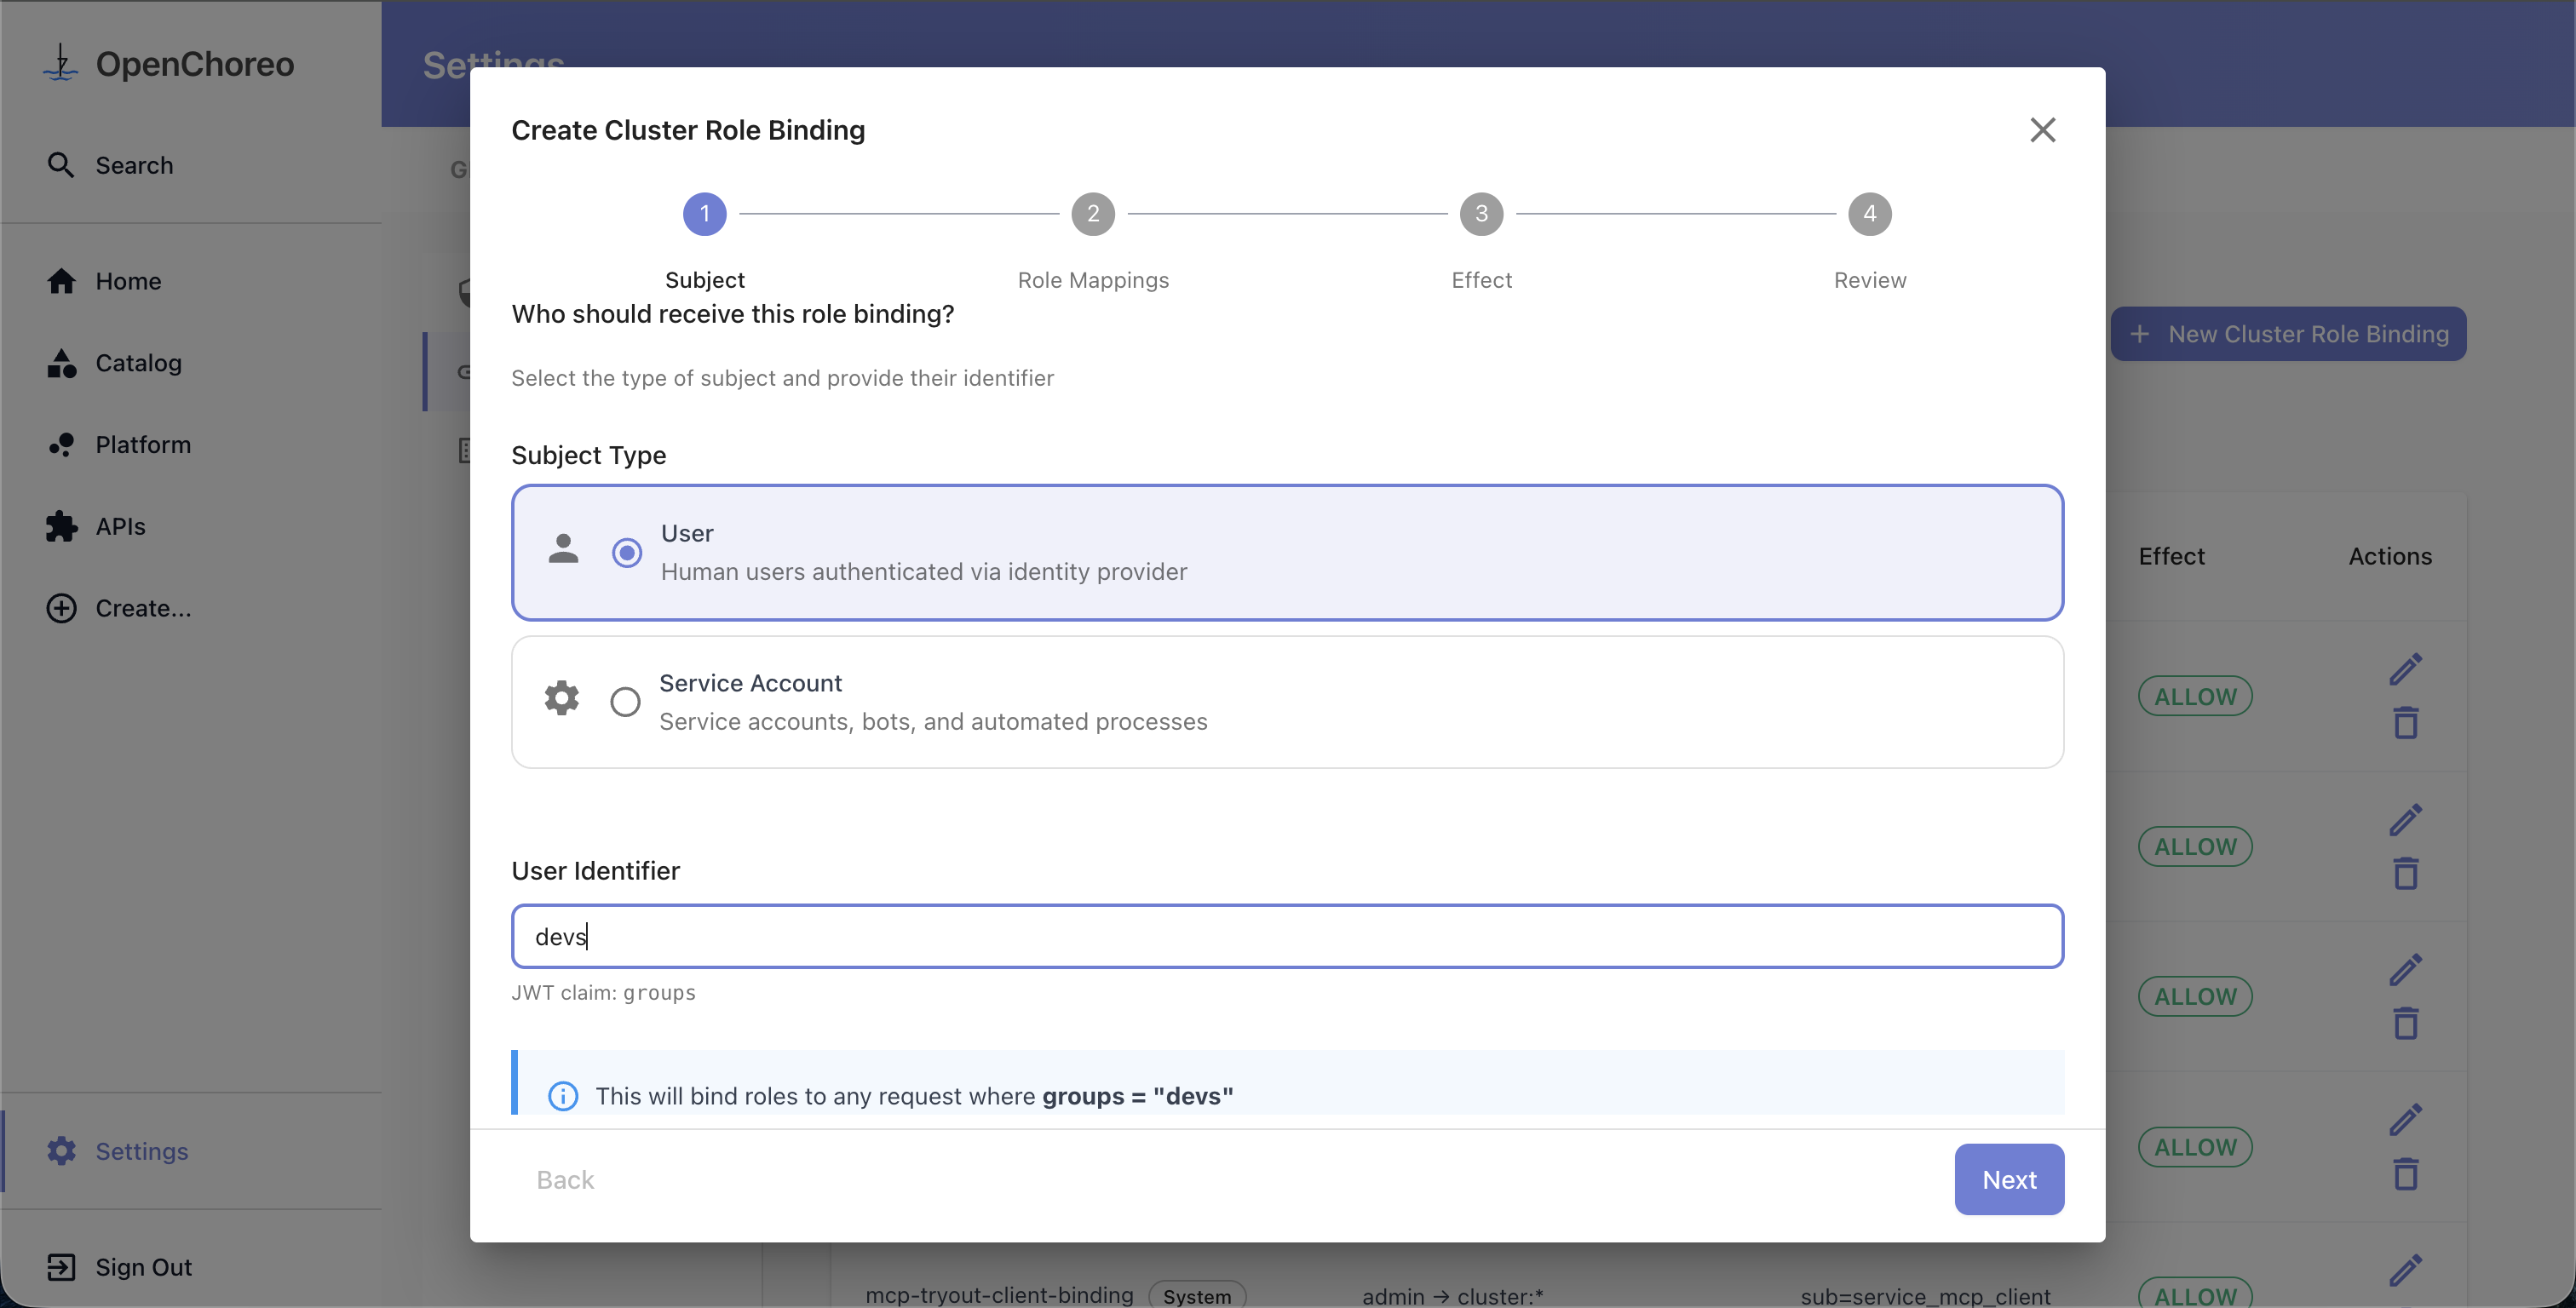
The wizard walks through the following steps:
Step 1: Select Subject
Choose the subject type (e.g., User or Service Account) and provide an identifier value. Each subject type maps to a specific JWT claim — for example, the "User" type maps to the groups claim, so entering platform-team as the identifier means the binding matches any request where the groups claim contains platform-team.
The subject types shown in the wizard are dynamic and reflect what is configured in your installation. You can customize the available types, display names, and claim mappings through the Helm values — see Subject Types.
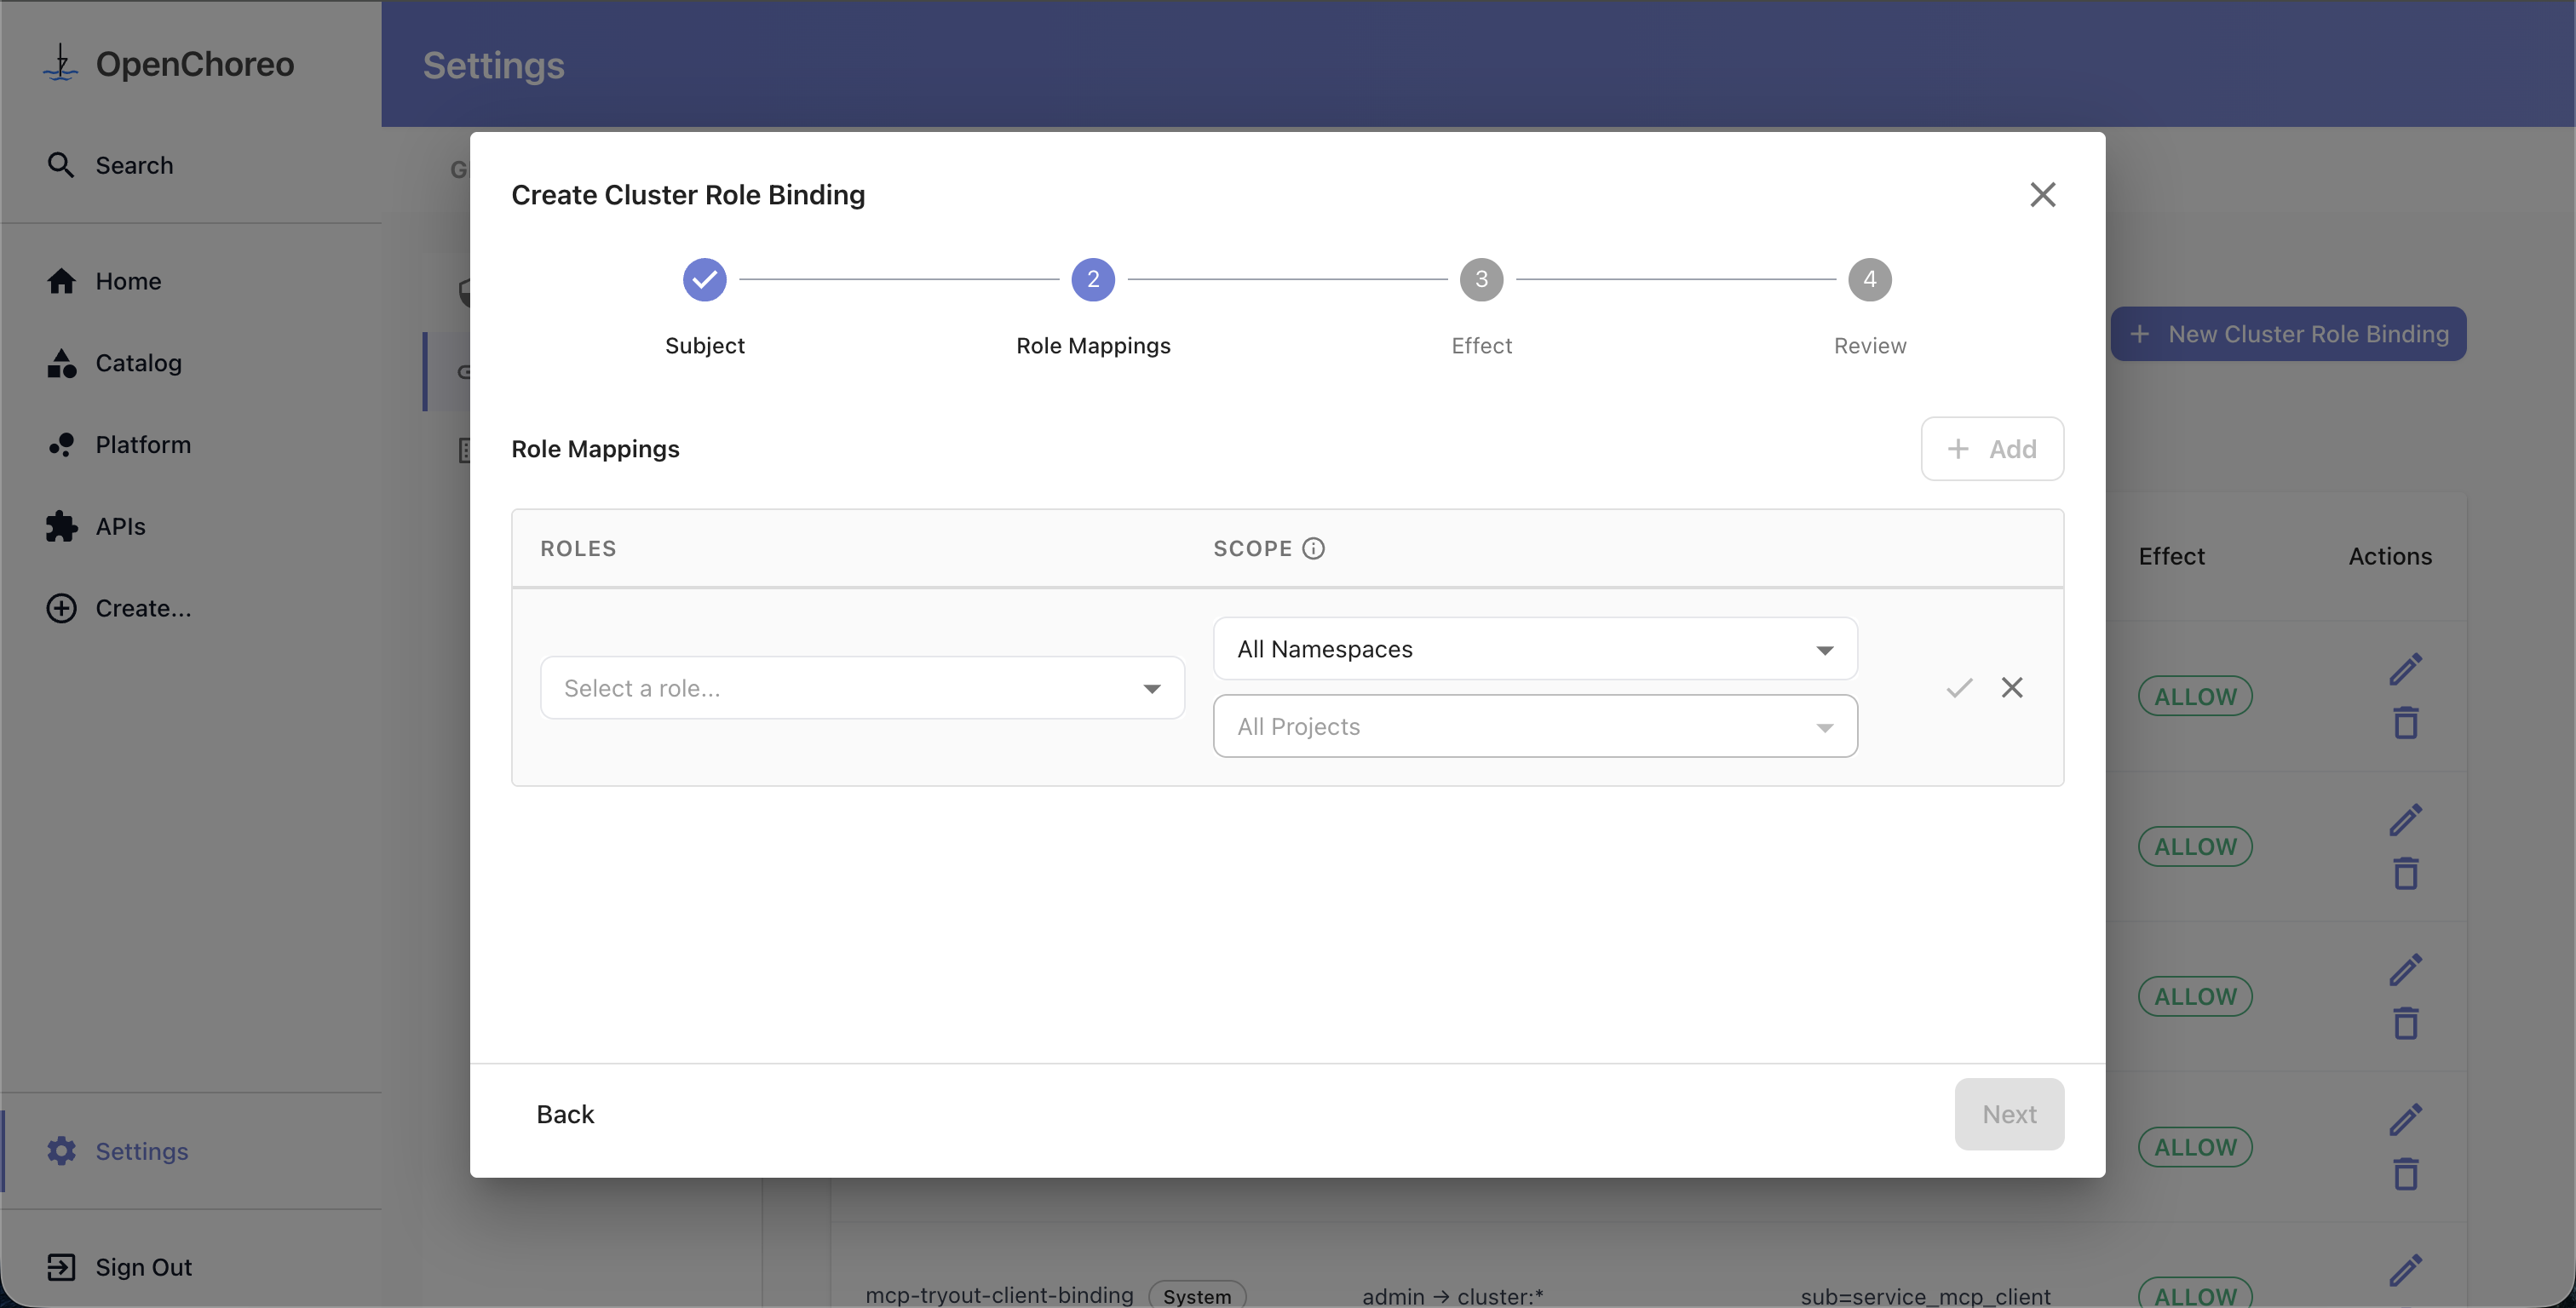
Step 2: Configure Role Mappings
Add one or more role-scope pairs. Each role mapping combines a role (defining what actions are permitted) with a scope (defining where those actions apply).
For each mapping:
- Select a role from the dropdown. For namespace bindings, both namespace roles and cluster roles are available. For cluster bindings, only cluster roles are shown.
- Set the scope to narrow where the role's permissions apply:
- For cluster bindings: optionally select a namespace, then a project, then a component
- For namespace bindings: optionally select a project, then a component
- Omitting scope means the role applies at the widest level (cluster-wide or namespace-wide)
- Confirm the mapping by clicking the checkmark
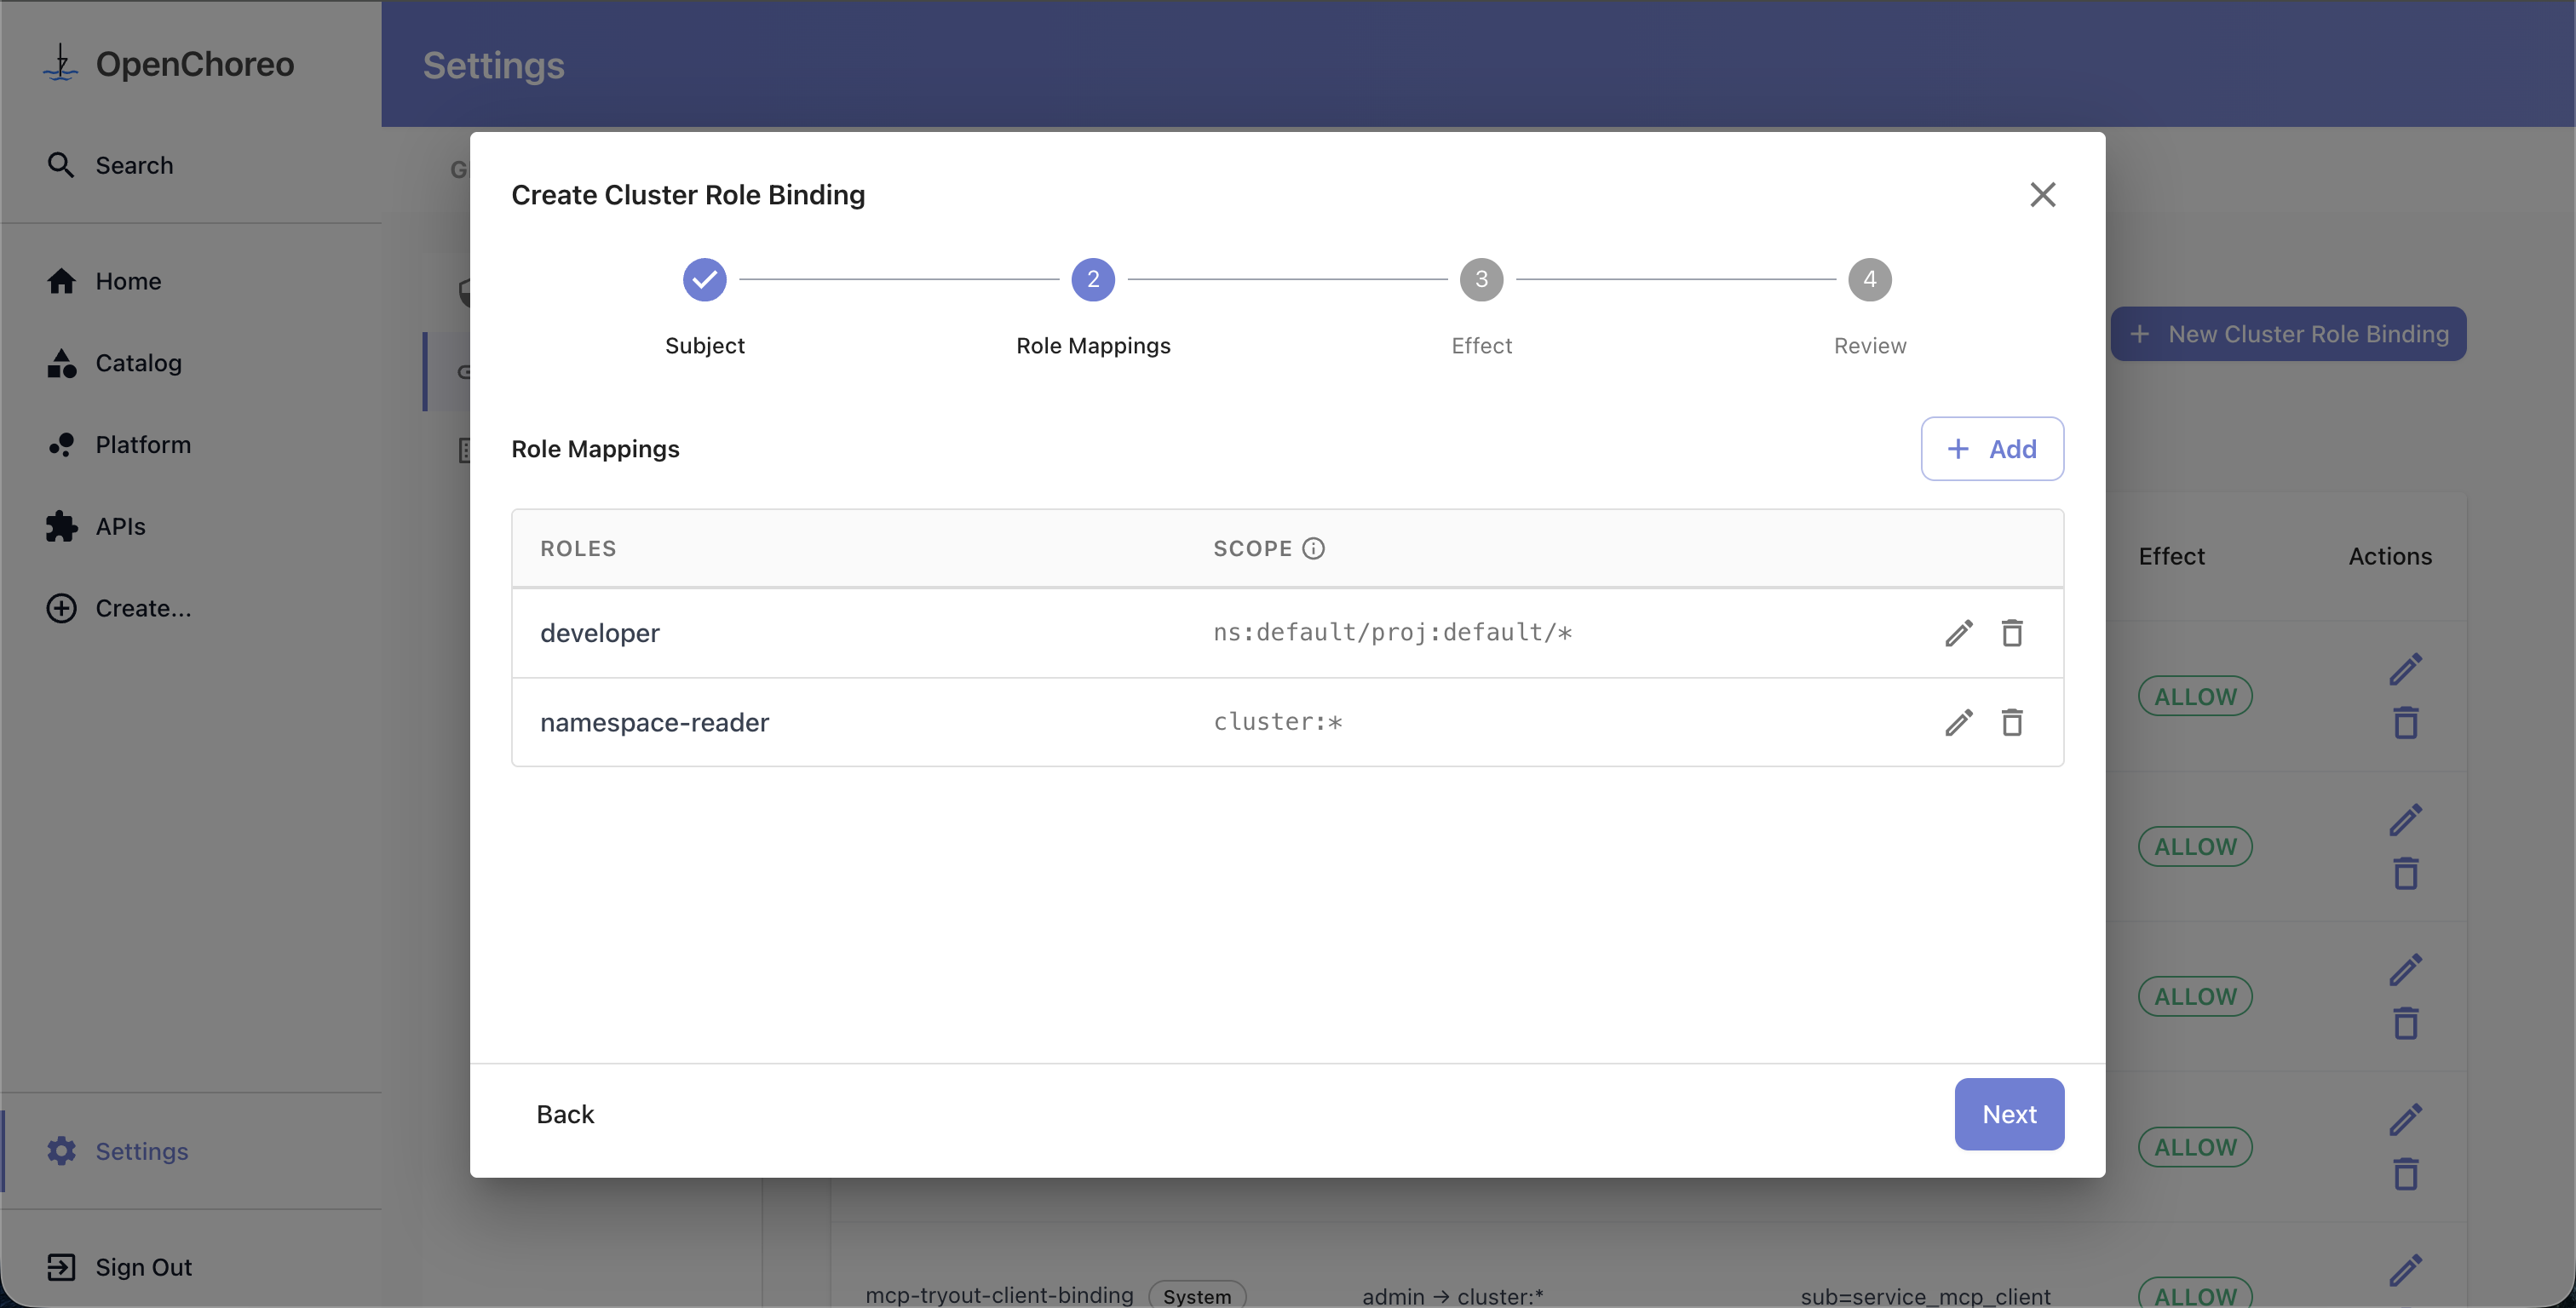
You can add multiple mappings to a single binding. For example, you might grant developer access scoped to a specific project alongside cluster-reader access with no scope — all in one binding.
The scope you choose determines the effective permissions of the mapping — a user can only perform an action if the role grants that action and the target resource falls within the scope. For more details, see Scope and Effective Permissions.
Select a role and configure its scope inline. Use the namespace, project, and component dropdowns to narrow the scope, then click the checkmark to confirm the mapping.
Once confirmed, each mapping appears as a row in the table. You can add more mappings, or edit and delete existing ones.
Step 3: Choose Effect and Name
Select the effect:
- Allow — grant the selected roles' permissions to the subject
- Deny — explicitly block these permissions for the subject
A binding name is auto-suggested based on your selections. You can customize it if needed. The name cannot be changed after creation.

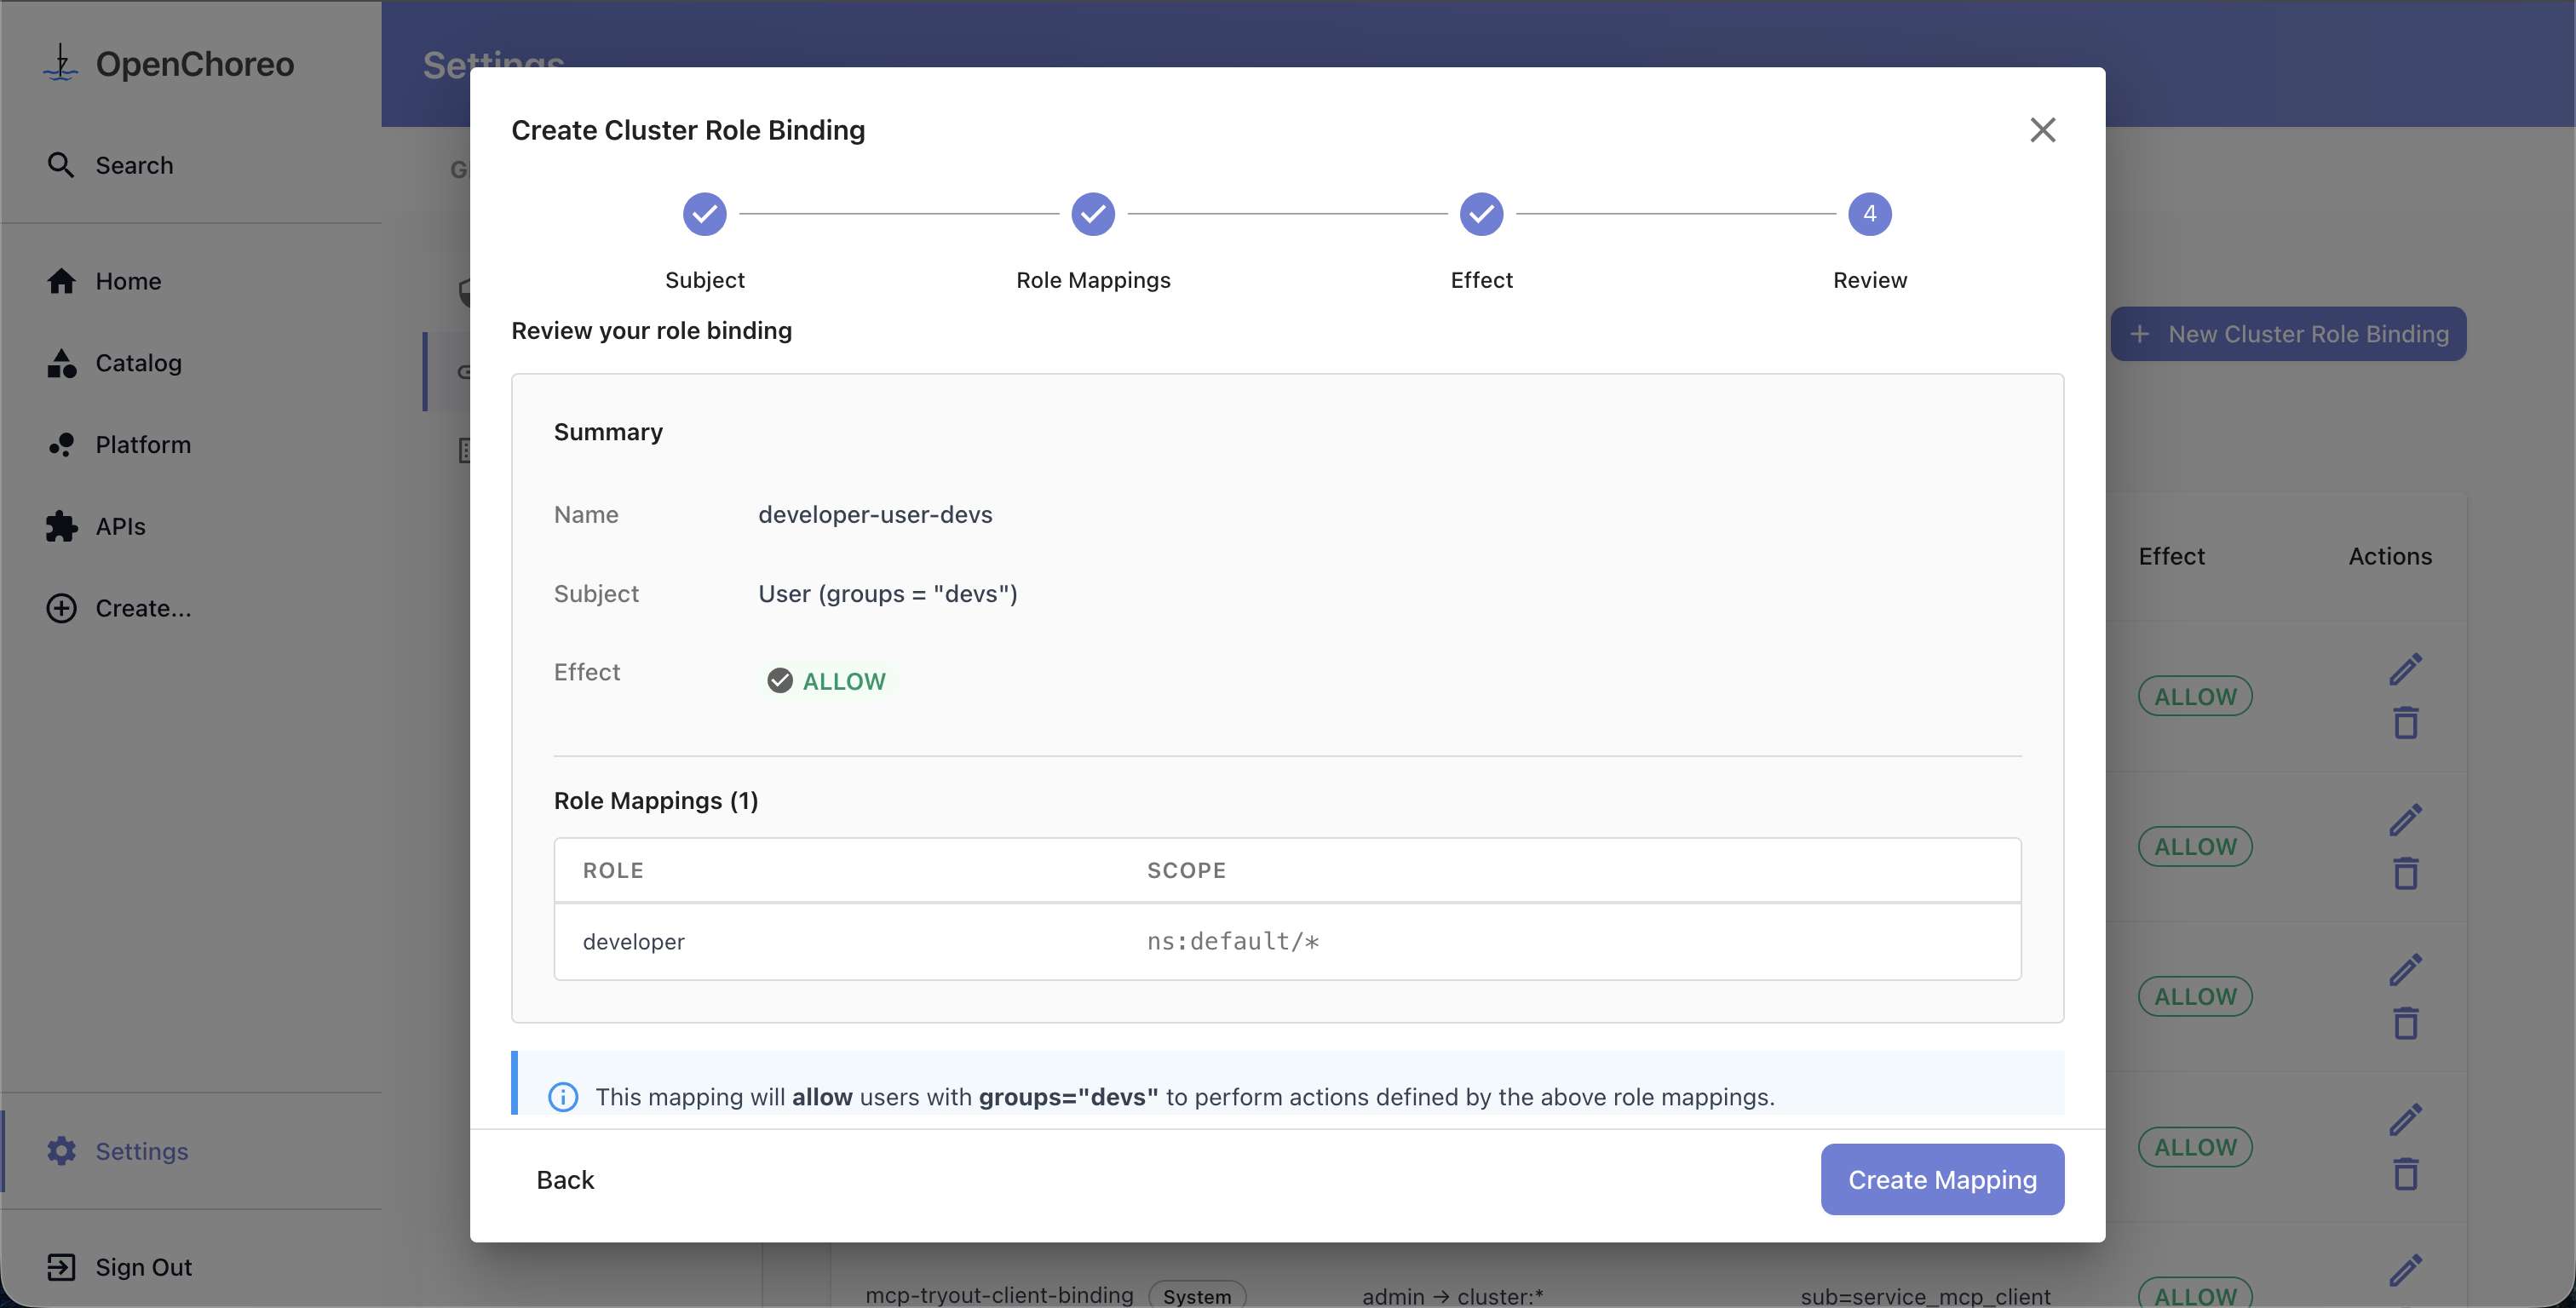
Step 4: Review
Review all your selections before creating the binding. The summary shows the subject, effect, and a table of all role mappings with their scopes.
Editing and Deleting
Editing
Click the edit (pencil) icon on any role or binding row to open the edit dialog. The name field cannot be changed after creation.
Deleting a Role
Click the delete (trash) icon on a role row. If the role has active bindings, you'll see a warning listing the affected bindings and can choose to Force Delete, which removes both the role and all its bindings.
Deleting a Role Binding
Click the delete icon on a binding row and confirm.
Browsing Actions
The Actions tab provides a read-only view of all available actions in the system, grouped by resource type. Use the search field to filter actions by name. This is useful when deciding which actions to include in a role.
See Also
- Authorization Overview — Core concepts and how authorization works
- Authorization CRDs — Detailed field reference for all four CRDs